I was halfway through a midnight binge of take‑out ramen, feeling the familiar hollow in my stomach, when my phone buzzed with a friend’s dare: “Make the ultimate Oyakodon and prove you’re better than the restaurant.” I laughed, but the challenge was real. I pictured a bowl so comforting it could replace a hug, a dish that would make my taste buds do a happy dance. The idea of a single‑pan, egg‑topped chicken rice bowl that could be whipped up in 45 minutes was too good to ignore.
The first time I tried the classic version, I was disappointed by the blandness that seemed to seep into every grain of rice. The sauce was too watery, the chicken too dry, and the eggs just a pale, uninspired yolk. I remember the kitchen filling with the smell of burnt soy, the sizzling sound of onion hitting hot oil, and the disappointment on my face. That moment sparked a mission: I would reimagine the dish, layer flavors like a sushi roll, and create a bowl that would make you want to taste it again and again.
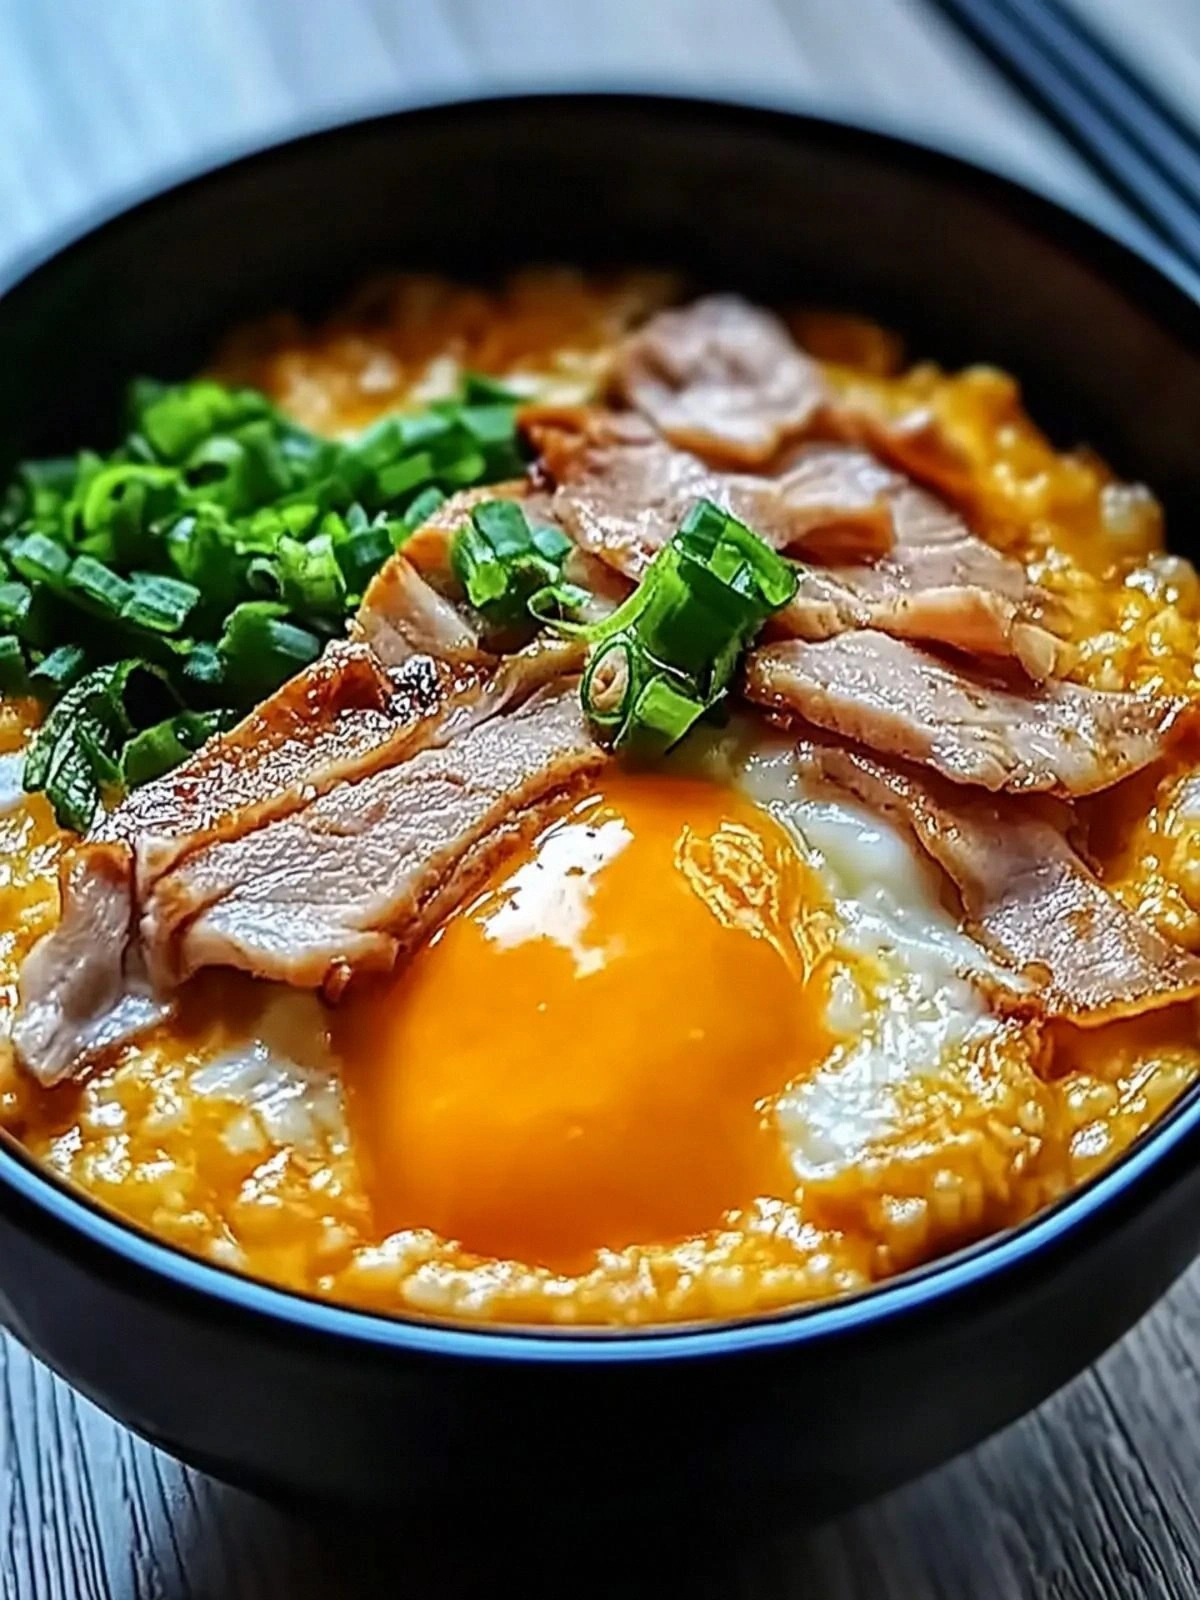
Picture this: a generous scoop of short‑grain rice, fluffy and slightly sticky, topped with a glossy, caramelized sauce that clings to each grain like a velvet coat. The chicken, seared to a golden crust, releases a savory aroma that lingers in the air. A perfectly runny egg crowns the bowl, its yolk a molten river that drips into the sauce, creating a silky texture that melts in your mouth. The final touch? A sprinkle of shichimi togarashi that gives a subtle heat, and a handful of mitsuba leaves that add a fresh, peppery bite.
I’m not just talking about a recipe; I’m talking about a culinary revelation. This version of Oyakodon is hands down the best you’ll ever make at home because it balances umami, sweetness, and subtle heat in a way that the original never quite captured. The secret lies in the careful timing of each ingredient, the use of dashi for depth, and a finishing touch of mirin that caramelizes the sauce into a glossy sheen. I dare you to taste this and not go back for seconds.
If you’ve ever struggled with a bland Oyakodon, you’re not alone. Most recipes get this completely wrong, over‑simmering the eggs and under‑seasoning the sauce. But I’ve cracked the code. By the end of this guide, you’ll wonder how you ever made it any other way. Let me walk you through every single step — by the end, you’ll wonder how you ever made it any other way.
What Makes This Version Stand Out
- Flavor Depth: Using dashi stock as the base infuses the dish with a savory umami that elevates every bite. The combination of soy sauce, mirin, and sake creates a harmonious balance of salty, sweet, and slightly acidic tones. The result is a sauce that coats the rice like velvet, leaving no grain dry.
- Texture Contrast: The chicken’s seared exterior offers a satisfying crunch that contrasts with the silky, runny egg. The rice remains fluffy yet slightly sticky, absorbing the sauce without becoming mushy. The mitsuba leaves add a fresh, peppery crunch that brightens the whole bowl.
- Ingredient Quality: Choosing boneless, skin‑on thighs gives the dish a richer flavor and better texture than traditional cuts. Fresh eggs laid by free‑range chickens provide a richer yolk that stays intact when cooked. The use of high‑quality mirin and sake adds depth that instant mixes can’t match.
- Simplicity: Despite the complex flavor profile, the recipe requires only ten minutes of prep and 30 minutes of cooking. No fancy equipment, no complicated techniques—just a pan, a stove, and a bit of culinary intuition.
- Make‑ahead Potential: The dish keeps well for up to two days in the fridge. The sauce thickens slightly as it cools, making it even more flavorful when reheated. This makes it perfect for busy weeknights or meal‑prep sessions.
- Visual Appeal: The glossy sauce, the golden sear on the chicken, and the vibrant green of the mitsuba create a bowl that looks as good as it tastes. It’s a dish that will impress guests and make your Instagram feed pop.
Alright, let's break down exactly what goes into this masterpiece...
The Flavor Base
The foundation of any great Oyakodon is its sauce, and this recipe takes it to a new level. Dashi stock, made from kombu and bonito flakes, provides an earthy umami that underpins the dish. It’s the silent hero that makes the soy sauce feel richer and the mirin’s sweetness feel balanced. If you can’t find dashi, a low‑sodium chicken broth will work, but the flavor will be noticeably lighter.
Soy sauce is the salty backbone. It gives depth and a slight briny undertone that complements the sweetness of mirin. When you pour it into the pan, watch how it turns from a dull gray to a deep amber, signaling that the caramelization is starting. A pinch of sugar can be added if you prefer a slightly sweeter sauce, but the natural sweetness of mirin usually suffices.
Mirin isn’t just a sweetener; it’s a sauce that adds a subtle acidity and a glossy finish. The alcohol content helps the sugars caramelize, creating that glossy sheen that makes the dish look restaurant‑grade. If you’re avoiding alcohol, use a splash of rice vinegar mixed with a teaspoon of sugar to mimic mirin’s profile.
Sake is the final touch that rounds out the sauce, adding a delicate aroma and a subtle depth that can’t be replicated by other liquids. It also helps tenderize the chicken during cooking. If you don’t have sake, a splash of dry white wine can substitute, but the flavor will be slightly different.
The final ingredient in this group is a teaspoon of granulated sugar, used sparingly to balance the saltiness and acidity. It’s a small addition that makes the sauce feel more rounded, preventing it from tasting flat or overly salty.
The Texture Crew
The chicken thighs are the star of the texture crew. Their higher fat content keeps the meat juicy and flavorful, even after searing. By cutting them into bite‑sized pieces, you ensure that each morsel is coated in sauce and cooked to perfection. If you prefer a leaner version, substitute chicken breast, but be prepared for a drier result.
The onion provides a sweet, caramelized layer that adds a subtle crunch and depth of flavor. Slice it thinly so it cooks quickly and releases its natural sugars. If you’re sensitive to onions, you can replace them with scallions or leeks for a milder taste.
Eggs are the crowning glory. They should be added in a thin stream, allowing each to set into a silky, custard‑like texture that clings to the rice and chicken. The yolk must remain runny; if it turns too firm, the dish loses its signature silky mouthfeel. If you’re not comfortable handling raw eggs, use pasteurized eggs or a pre‑cooked egg substitute.
Rice is the canvas of the dish. Japanese short‑grain rice is essential because its slightly sticky texture holds the sauce and eggs together. Cook the rice to a perfect fluffy yet slightly firm bite; overcooking will make it mushy and undercooking will leave it dry.
The Unexpected Star
Mitsuba leaves or chopped green onions are the green garnish that adds freshness and a peppery bite. Mitsuba, a Japanese herb with a mild parsley‑like flavor, provides a bright contrast to the rich sauce. If you can’t find mitsuba, finely chopped scallions or chives will work, though the flavor profile will shift slightly.
Shichimi togarashi is the final flourish that gives the dish a gentle heat and a complex spice blend. Its seven ingredients—red pepper, ground sesame, ground nori, ground ginger, ground sansho, ground black pepper, and ground salt—create a subtle, lingering warmth. A pinch on top elevates the dish from comforting to memorable.
Everything's prepped? Good. Let's get into the real action...
The Method — Step by Step
- Heat a large non‑stick skillet over medium heat. Add a splash of vegetable oil and let it shimmer. Once the oil is hot, add the sliced onion, sautéing until translucent and fragrant. The onion should release its sugars, turning a golden hue that signals readiness. This step is crucial for building the dish’s base flavor.
- Add the chicken pieces to the pan. Spread them out so they sear on all sides. Flip them once the underside turns golden brown; you should hear a satisfying sizzle. As the chicken cooks, its fat renders and coats the pan, adding richness to the sauce. This is the moment when the aroma starts to dance.
- Pour the dashi stock, soy sauce, mirin, sake, and sugar over the chicken. Stir gently to combine, ensuring the chicken is fully submerged. Bring the mixture to a gentle simmer. Watch the sauce thicken slightly, turning from a clear liquid to a glossy amber. This simmer will meld the flavors together.
- Slowly pour the beaten eggs into a thin stream across the surface of the simmering sauce. The eggs should immediately begin to set, forming a delicate, translucent layer. Stir gently with a wooden spoon, allowing the eggs to fold into the sauce. The goal is a custard‑like coating that clings to the rice and chicken.
- Reduce the heat to low and let the mixture cook for 2–3 minutes, or until the eggs are set but still slightly runny. The edges should start pulling away from the pan, creating a beautiful golden rim. This slow cooking preserves the silky texture that makes Oyakodon special.
- While the eggs finish cooking, heat a separate pot of water to bring rice to a gentle boil. Drain the rice, then fluff it with a fork to separate the grains. The rice should be slightly moist but not wet; this will absorb the sauce without becoming soggy.
- Divide the cooked rice into four bowls. Spoon the hot chicken and egg mixture over each bowl, letting the sauce mingle with the rice. Sprinkle a pinch of shichimi togarashi over each bowl for a subtle heat. Finally, garnish with mitsuba leaves or green onions for a fresh, peppery finish.
- Serve immediately, preferably with a side of pickled plum or a simple cucumber salad. The contrast between the warm, savory bowl and the cool, crisp side amplifies the overall experience. Enjoy the comforting warmth as you dive into this culinary masterpiece.
That's it — you did it. But hold on, I've got a few more tricks that'll take this to another level...
Insider Tricks for Flawless Results
The Temperature Rule Nobody Follows
Many cooks over‑heat the pan when adding the eggs, causing them to scramble. Keep the heat low and let the sauce simmer gently. This ensures a silky custard that coats the rice instead of a rubbery texture. The key is patience; the sauce should feel warm but not boiling.
Why Your Nose Knows Best
Smell the sauce as it cooks. A deep, caramelized aroma indicates the sugars have begun to break down. If the aroma is too sharp or metallic, reduce the heat. Your nose is a reliable indicator of doneness.
The 5‑Minute Rest That Changes Everything
After the eggs finish cooking, let the pan rest for 5 minutes before serving. This rest allows the sauce to thicken slightly and the flavors to meld. A quick pause also prevents the eggs from overcooking when you transfer them to the bowl.
The Right Onion Slice
Thinly sliced onion releases sweetness faster and caramelizes more evenly. If you slice too thick, it will take longer to cook and might release moisture that dilutes the sauce. A fine slice is the sweet spot.
The Secret of Fresh Eggs
Fresh eggs hold their shape better when cooked. They produce a silkier texture that clings to the rice. If you’re using older eggs, beat them vigorously to help them set more smoothly.
Creative Twists and Variations
This recipe is a playground. Here are some of my favorite ways to switch things up:
Teriyaki Oyakodon
Swap the dashi for a homemade teriyaki sauce made with soy sauce, mirin, sugar, and a splash of sake. The result is a sweeter, thicker glaze that coats the chicken and rice. It’s perfect for a quick weeknight dinner.
Miso‑Infused Oyakodon
Add a tablespoon of white miso to the sauce for a nutty depth. The miso will mellow the sweetness of mirin and add a subtle umami layer. This variation works beautifully with a side of sautéed spinach.
Spicy Kimchi Oyakodon
Stir in a handful of chopped kimchi before adding the eggs. The fermented flavors will add a punch of heat and a tangy contrast to the richness. Sprinkle extra shichimi togarashi for an extra kick.
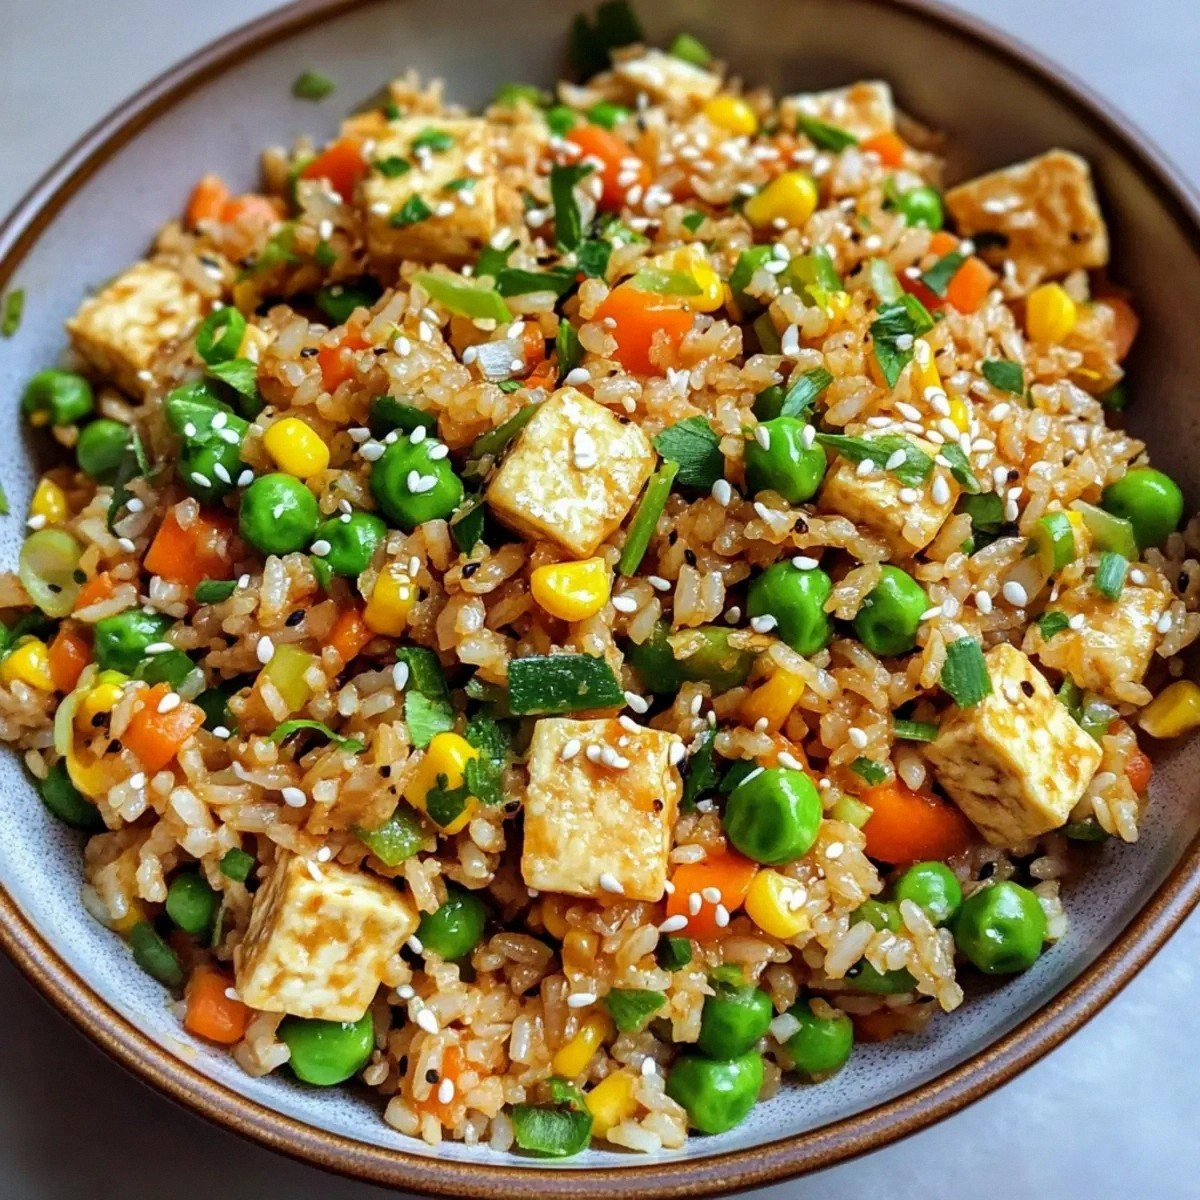
Vegetarian Oyakodon
Replace the chicken with cubed tofu, seasoned with soy sauce and a pinch of garlic powder. The tofu will absorb the sauce beautifully and provide a protein boost. Add sliced shiitake mushrooms for an earthy twist.
Citrus‑Bright Oyakodon
Finish the dish with a drizzle of yuzu kosho or a squeeze of fresh lemon. The citrus will cut through the richness and brighten the overall flavor profile. It’s a refreshing take that pairs well with a light salad.
Storing and Bringing It Back to Life
Fridge Storage
Cool the dish completely before transferring it to an airtight container. Store in the refrigerator for up to two days. The sauce will thicken slightly, but the flavors will remain vibrant.
Freezer Friendly
For longer storage, freeze the rice and sauce separately. The rice can be frozen for up to one month; thaw in the microwave before reheating. The sauce should be reheated gently to avoid separation.
Best Reheating Method
Reheat the dish in a skillet over low heat, adding a splash of water or dashi to loosen the sauce. This steamy method restores the silky texture and prevents the sauce from drying out. Serve immediately for the best experience.
Now that you’ve mastered the ultimate Oyakodon, you’re ready to impress friends and family with a dish that feels like a warm hug in a bowl. The combination of textures, flavors, and aromas will have everyone asking for a second plate. Enjoy the process, savor the moment, and remember: this is hands down the best version you'll ever make at home.