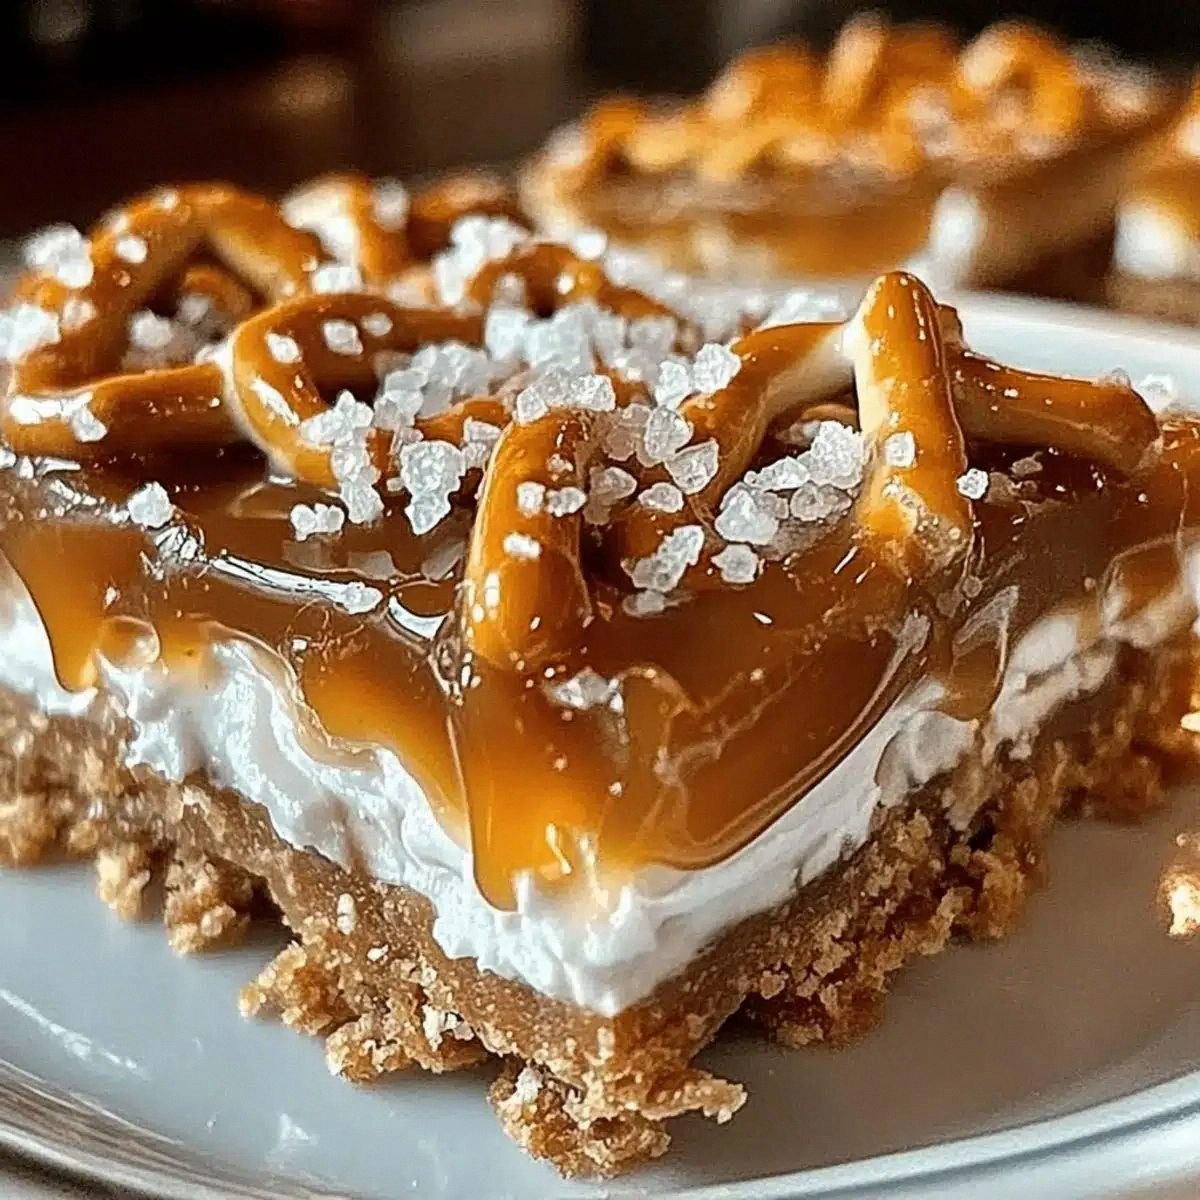
Picture this: it’s a rainy Saturday afternoon, you’re stuck inside, the kettle is whistling, and you’ve just discovered that the last bag of pretzels in the pantry is about to expire. You stare at those salty twists and think, “What if I could turn this into something that feels like a hug from a caramel‑laden cloud?” That moment of desperation turned into a culinary epiphany, and I swear the universe heard my sigh. I grabbed the butter, brown sugar, and heavy cream, and before I knew it, my kitchen was a battlefield of sizzling pans, bubbling caramel, and the sweet smell of chocolate melting like sunrise on a chocolate lake. I dared myself to make the ultimate sweet‑salty bar, and the result? Hands down the best version you’ll ever make at home.
The moment the caramel hit the pan, it sang a low, buttery hum that made my whole body vibrate. The pretzel pieces, already toasted from a quick oven blast, crackled like tiny fireworks when they met the hot syrup, each bite promising a crunchy‑to‑soft contrast that would make any snack lover weep with joy. I could hear the chocolate chips melting into a glossy river, and the faint hiss of the butter as it surrendered to the sugar felt like a secret whispered in a crowded room. My kitchen smelled like a carnival of sugar and salt, the air thick with the promise of something decadent yet oddly familiar.
Most pretzel‑caramel recipes out there either drown the pretzels in a gooey mess or forget the crucial salty crunch that makes this snack legendary. I’ve tried those half‑hearted attempts, and they always left me feeling like I’d just eaten a bland candy bar. This version, however, balances the buttery caramel, the sharp bite of sea salt, and the luxurious melt of chocolate with surgical precision. The secret? A quick caramel technique that locks in flavor without turning the bars into a sticky swamp, and a finishing sprinkle of flaky sea salt that hits the palate like a fireworks finale.
And now, the fun part: I’m about to walk you through every single step — from the moment you preheat that oven to the triumphant pull of the golden‑brown bars from the pan. By the end, you’ll wonder how you ever settled for anything less, and I dare you to taste this and not go back for seconds.
What Makes This Version Stand Out
- Flavor Harmony: The caramel is buttery and deep, the pretzel adds a salty crunch, and the chocolate drapes everything in silky richness, creating a symphony that sings on your tongue.
- Texture Triple‑Threat: You get the snap of pretzel shards, the chew of caramel, and the melt‑in‑your‑mouth chocolate — each bite is an adventure from start to finish.
- Simplicity Meets Sophistication: Only five core ingredients, yet the technique feels like a pro‑level dessert, proving that greatness doesn’t need a long shopping list.
- Unique Salt Finish: A pinch of flaky sea salt on top transforms the sweet caramel into a balanced masterpiece, preventing any cloying aftertaste.
- Crowd‑Pleaser Factor: Whether you’re feeding kids after school or impressing adults at a cocktail party, these bars disappear faster than you can say “more, please.”
- Ingredient Quality: Using real butter, not margarine, and good‑quality chocolate chips makes the difference between “nice” and “mind‑blowing.”
- One‑Pan Wonder: The entire process happens in a single sheet pan, cutting cleanup down to a single wipe and a smile.
- Make‑Ahead Magic: These bars keep perfectly for up to a week, and they even freeze beautifully, so you can have a ready‑to‑grab snack anytime.
Inside the Ingredient List
The Flavor Base
Pretzels (2 cups): These are the backbone of the bar, providing that irresistible salty crunch. If you skip them, you lose the essential contrast that makes each bite sing. For a twist, try kettle‑corned pretzels for extra caramel notes, but the classic salted pretzel is the gold standard. When buying, look for pretzels that are still crisp; stale pretzels will soak up too much caramel and become soggy.
Butter (½ cup): Real butter brings a buttery depth that margarine can’t match. It also helps the caramel achieve that glossy, velvety texture. If you’re dairy‑free, coconut oil works in a pinch, but expect a faint coconut aftertaste that may clash with the chocolate.
The Texture Crew
Brown Sugar (½ cup): The molasses in brown sugar gives the caramel its amber hue and a subtle hint of toffee. Light brown sugar will make the caramel a bit milder, while dark brown sugar intensifies the flavor. Skipping it for white sugar will result in a flat, overly sweet caramel lacking that deep, caramelized backbone.
Heavy Cream (½ cup): Cream stops the caramel from hardening too quickly and adds a silky mouthfeel. It also tempers the sugar, preventing a grainy texture. If you’re watching calories, half‑and‑half works, but the bars will be a touch less luxurious.
The Unexpected Star
Chocolate Chips (1 cup): These melt into a glossy river that binds the bars together, adding a rich cocoa punch that balances the salty caramel. Use semi‑sweet chips for a perfect sweet‑salty equilibrium; dark chocolate will make the bars more bitter, while milk chocolate could overwhelm the pretzel’s crunch.
Everything's prepped? Good. Let's get into the real action…
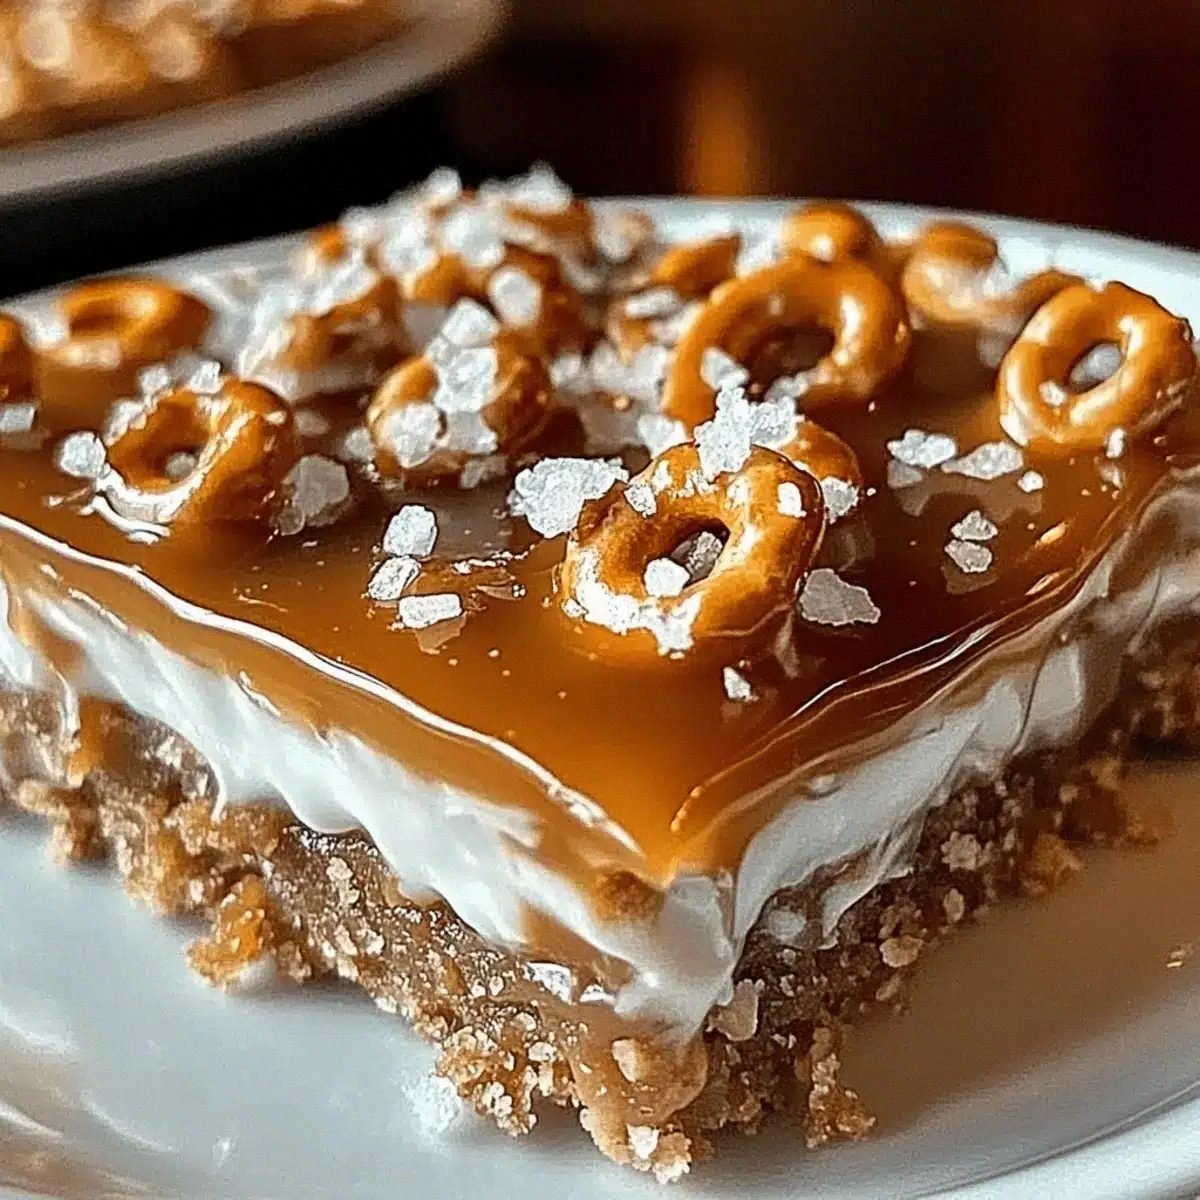
The Method — Step by Step
Preheat your oven to 350°F (175°C). While the oven warms, line a 9×13‑inch sheet pan with parchment paper, allowing the edges to hang over for easy removal later. This step ensures the bars don’t stick and gives you a clean pull‑away later, which is pure magic.
Spread the pretzels evenly across the pan, pressing them gently with your hands so they form a compact, uniform layer. You’ll hear a faint rustle as the pretzels settle — that’s the sound of a solid foundation forming. Watch out: If the pretzels are too loose, the caramel will pool in gaps, creating soggy spots.
In a medium saucepan, melt the butter over medium heat. Once melted, add the brown sugar and stir continuously. The mixture will bubble and emit a caramel‑like perfume that makes you want to lick the spoon. Keep stirring until the sugar dissolves completely — you’ll see the mixture turn a deep amber color.
Slowly whisk in the heavy cream, being careful as the mixture will bubble up vigorously. This is the moment of truth: the caramel should become smooth, glossy, and just a tad thickened. If it looks grainy, keep whisking; the cream will bring it back to silk.
Remove the saucepan from heat and immediately drizzle the hot caramel over the pretzel layer, using a spatula to spread it evenly. The caramel should coat every pretzel like a velvet curtain, seeping into the cracks but not drowning the base. Let it sit for 2 minutes to set slightly.
Scatter the chocolate chips over the warm caramel. The heat will melt them into a glossy river that pools in the low spots. Use a silicone spatula to swirl the chocolate gently, ensuring an even blanket. The scent at this stage? Pure chocolate heaven, and it’s a good indicator you’re on the right track.
Now, sprinkle a generous pinch of flaky sea salt across the top. The salt crystals should be visible, like tiny snowflakes on a chocolate landscape. This step is the game‑changer; it lifts the sweetness and adds that addictive crunch that makes you come back for more.
Slide the pan into the oven and bake for 12‑15 minutes, or until the edges of the pretzel base turn a golden amber and the chocolate looks set but still slightly glossy. You’ll hear a faint crackle as the caramel continues to set — that’s the sound of perfection.
Remove the pan and let it cool on a wire rack for at least 20 minutes. Patience is key; cutting too early will cause the bars to crumble. Once cooled, use the parchment overhang to lift the whole slab onto a cutting board and slice into 12‑16 bars, depending on your desired size.
That's it — you did it. But hold on, I've got a few more tricks that'll take this to another level…
Insider Tricks for Flawless Results
The Temperature Rule Nobody Follows
Never bake these bars on a cold pan. Always preheat the pan for at least 5 minutes; a warm pan jump‑starts the caramel setting process, giving you a crispier base. I once tried a cold pan and ended up with a soggy mess that tasted like a caramel puddle. Trust me, a hot start is the secret to that perfect snap.
Why Your Nose Knows Best
When the caramel reaches the right consistency, you’ll smell a deep toffee note that’s richer than any timer can tell you. If you catch that scent, the caramel is ready to pour. Relying on sight alone can mislead you; the aroma is your most reliable gauge.
The 5‑Minute Rest That Changes Everything
After baking, let the bars rest for exactly five minutes before cutting. This short pause lets the chocolate set just enough to hold together, while the caramel still stays soft enough for that melt‑in‑your‑mouth feel. Cutting too early creates crumbly edges; waiting too long makes the bars hard as a rock.
Chocolate Swirl Mastery
For an elegant marbled effect, after sprinkling the chocolate chips, use a butter knife to draw gentle swirls through the chocolate before it fully sets. This not only looks gorgeous but also distributes chocolate flavor more evenly. A friend tried skipping this step and ended up with a boring, uniform top.
Salt Timing Precision
Add the flaky sea salt while the bars are still warm but out of the oven. If you wait until they cool completely, the salt will cling to the surface and not dissolve into the caramel, resulting in a crunchy, uneven finish. The right moment gives you that perfect pop of saltiness on every bite.
Creative Twists and Variations
This recipe is a playground. Here are some of my favorite ways to switch things up:
Nutty Crunch
Swap half of the pretzels for toasted chopped almonds or pecans. The nuts add an earthy depth that pairs beautifully with the sweet caramel, and the extra crunch makes each bite even more dynamic.
Spicy Surprise
Stir in a pinch of cayenne pepper or a dash of smoked paprika into the caramel. The subtle heat creates a tantalizing contrast that will surprise your guests and keep them guessing.
White Chocolate Dream
Replace the semi‑sweet chocolate chips with white chocolate chips and add a teaspoon of vanilla extract to the caramel. The result is a creamy, buttery bar that feels like a dessert dream.
Coffee Kick
Mix a tablespoon of finely ground espresso into the caramel for a mocha‑like flavor. The coffee notes deepen the caramel’s richness and make the bars perfect for an afternoon pick‑me‑up.
Fruit Fusion
Gently fold in dried cranberries or chopped dried apricets after spreading the caramel. The tartness of the fruit balances the sweetness, and the chewy texture adds another layer of interest.
Vegan Version
Swap butter for coconut oil, use coconut cream instead of heavy cream, and choose dairy‑free chocolate chips. The flavor profile shifts slightly, but the bars remain decadently delicious for anyone avoiding dairy.
Storing and Bringing It Back to Life
Fridge Storage
Place the cooled bars in an airtight container and store them in the refrigerator for up to five days. The cool environment keeps the chocolate firm and the caramel from becoming overly soft. Before serving, let them sit at room temperature for 10 minutes to regain that perfect bite.
Freezer Friendly
Wrap individual bars in parchment paper, then place them in a freezer‑safe zip‑top bag. They’ll freeze beautifully for up to two months. When you’re ready to indulge, thaw them in the fridge overnight, then give them a quick 2‑minute microwave zap (or a 5‑minute warm‑up in a 300°F oven) to bring back that gooey caramel texture.
Best Reheating Method
To revive a chilled bar, place it on a microwave‑safe plate, add a tiny splash (about a teaspoon) of water next to it, and microwave for 15‑20 seconds. The steam generated re‑hydrates the caramel, making it soft again without turning the chocolate rubbery. This trick works wonders for bars that have been in the fridge for days.