I was standing in my kitchen, staring at a pile of vanilla wafers that had been abandoned on the counter for weeks. I could hear the faint hiss of the microwave as I tried to salvage them, and my stomach was growling louder than the electric fan. The moment I realized I had a recipe in mind that could turn that stale disaster into something heavenly, I felt a surge of culinary adrenaline. The kitchen smelled of toasted sugar and butter, and I could almost taste the sweet promise of a creamy, pink coconut snowball that would melt on the tongue like a summer breeze.
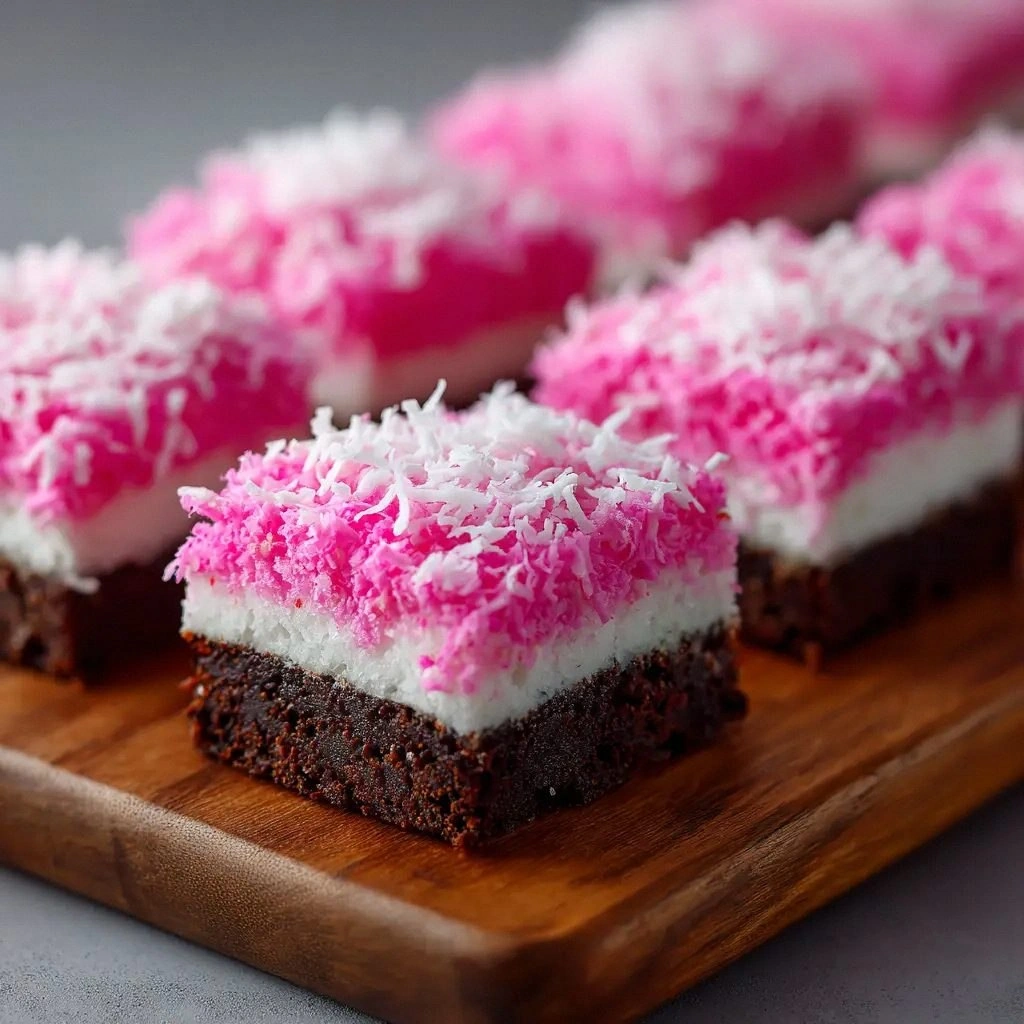
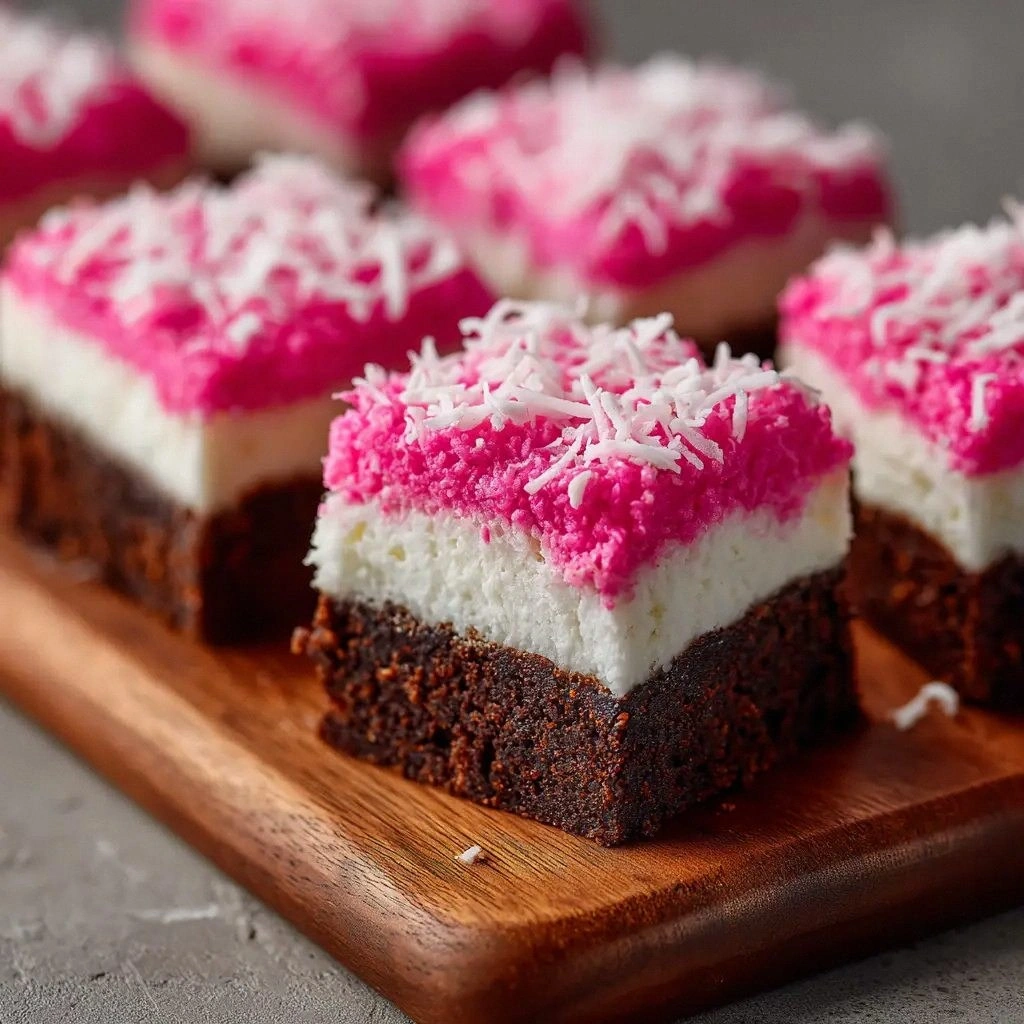
Picture this: a glossy, pinkish mound of coconut and marshmallow fluff, surrounded by a crispy wafer base that crackles like a freshly popped popcorn when you bite into it. The aroma is a sweet, buttery haze that drifts through the room, making every corner of the house feel like a confectionery wonderland. The texture is a delightful paradox—soft, airy marshmallow, chewy coconut, and the satisfying crunch of wafers. You can almost hear the gentle pop of the first bite, the way the mixture gives way to a melt-in-your-mouth experience. And the color—an eye-catching blush—makes it as visually stunning as it is delicious.
What makes this version stand out is that it is an absolute no‑bake masterpiece, meaning you can whip it up in minutes and enjoy it immediately. The secret is in the combination of vanilla wafers, butter, powdered sugar, and marshmallow fluff, which together create a smooth, cohesive base that holds the coconut in place. The pink food coloring adds a playful pop, but it’s the subtle vanilla extract that ties everything together with a fragrant undertone. And the best part? No oven, no stove, no fuss—just a simple heat‑and‑mix routine that delivers professional results. If you’ve ever struggled with a sticky, uneven dessert, this recipe is your rescue mission.
I dare you to taste this and not go back for seconds. That first bite will make you question why you ever settled for ordinary bars. Picture yourself pulling this out of the fridge, the whole kitchen smelling incredible, and then slicing it to reveal that perfect pink glow. If you’re still skeptical, let me walk you through every single step—by the end, you’ll wonder how you ever made it any other way.
What Makes This Version Stand Out
- Flavor: The vanilla wafers provide a buttery sweetness that pairs beautifully with the coconut’s tropical notes, creating a layered taste profile that feels both familiar and exotic.
- Texture: The crunchy wafer base contrasts with the chewy coconut and silky marshmallow, delivering a multi‑sensory experience that satisfies every craving.
- Simplicity: No oven, no complex steps—just melt butter, mix, press, chill, and serve. The recipe is a lifesaver for busy weeknights.
- Uniqueness: The pink hue turns an ordinary snack into a party centerpiece, while the marshmallow fluff keeps the bars moist and airy.
- Crowd Reaction: At gatherings, these bars become instant conversation starters—people ask for the recipe before they even taste the first bite.
- Ingredient Quality: Using high‑quality vanilla wafers and fresh coconut gives the bars a depth of flavor that store‑bought mixes can’t match.
- Make‑Ahead Potential: Freeze or refrigerate, and the bars stay fresh for a week, making them perfect for meal prep or last‑minute entertaining.
- Visual Appeal: The blush pink color is Instagram‑worthy, ensuring your photos get double the likes.
Inside the Ingredient List
The Flavor Base
Vanilla wafers are the backbone of this recipe, offering a subtle crunch and a buttery sweetness that anchors the entire flavor profile. When you crush them into fine crumbs, they absorb the melted butter and powdered sugar, forming a cohesive base that holds the coconut together. If you skip the wafers, you’ll end up with a loose, gummy mixture that won’t set properly. For an extra burst of flavor, try using chocolate wafer crumbs for a decadent twist.
The Texture Crew
Unsalted butter is the unsung hero that brings everything together. Two separate butter measurements—six tablespoons for the base and one half cup for the coconut mixture—ensure the right balance of moisture and structure. The butter melts into the crumbs, creating a silky, cohesive texture that holds the bars together. If you use salted butter, the bars might taste overly salty, so always opt for unsalted for precise flavor control.
The Unexpected Star
Marshmallow fluff is the secret to that airy, cloud‑like interior. Its light, fluffy texture melts into the butter, creating a smooth, creamy center that contrasts with the crunchy base. A common mistake is using regular marshmallows instead of fluff; the result is a denser, less pleasant mouthfeel. If you can’t find marshmallow fluff, a quick substitute is to melt regular marshmallows and whisk until airy, but the fluff remains the gold standard.
The Final Flourish
Powdered sugar gives the bars a glossy finish and a touch of sweetness that balances the buttery base. The pink food coloring, though minimal, transforms the bars into a vibrant, eye‑catching treat. A few drops—two or three—are enough to achieve that rosy hue without overwhelming the natural flavors. If you prefer a more natural look, simply omit the coloring; the bars will still taste divine.
Everything's prepped? Good. Let's get into the real action...
The Method — Step by Step
- First, place the vanilla wafers in a large zip‑top bag and crush them into fine crumbs using a rolling pin or a sturdy spoon. The goal is to get crumbs that are fine enough to bind but still retain a little bite. This step sets the foundation; if you skip it, the bars will feel lumpy. Now, set the bag aside and let the aroma of crushed wafers fill the kitchen.
- In a small saucepan, melt six tablespoons of unsalted butter over low heat until it foams and turns a light amber. Stir constantly to avoid scorching. Once melted, remove from heat and whisk in one cup of powdered sugar until fully incorporated and the mixture is smooth. The butter’s golden hue indicates it’s ready to bind the crumbs.
- Add the crushed wafer crumbs to the butter‑sugar mixture, stirring until every crumb is coated. The mixture should feel slightly sticky but still hold its shape when pressed. If it feels too dry, add a teaspoon of milk to moisten; if too wet, add a few more crumbs.
- Press the wafer‑butter mixture into the bottom of a 9×9‑inch lined baking pan, using the back of a spoon to create an even layer. The crust should be firm enough to hold the coconut topping. If it’s too loose, press harder or add a few extra crumbs.
- In a separate bowl, combine one half cup of unsalted butter, two cups of sweetened shredded coconut, and the marshmallow fluff. Melt the butter over medium heat, then stir in the coconut until it’s evenly coated. The mixture should look glossy and slightly glossy, with the coconut grains clinging to the butter.
- Stir in one teaspoon of vanilla extract and two to three drops of pink food coloring. Mix until the color is uniform and the mixture is smooth. This is the moment of truth—watch the color deepen as it coats the coconut.
- Spread the coconut‑marshmallow mixture evenly over the pressed wafer base, smoothing the surface with a spatula. The top should be flat and even, ready to set. Let it cool at room temperature for 10 minutes before refrigerating.
- Refrigerate the bars for at least 30 minutes, or until firm. The cold sets the butter and sugar, giving the bars a crisp edge that shatters like thin ice when cut. Once set, remove from the fridge and slice into bars or squares.
- Serve immediately or store in an airtight container. For best results, keep them chilled until ready to serve to maintain that silky texture. If you’re serving at a party, bring a small dish of extra marshmallow fluff on the side for guests to drizzle.
That's it—you did it. But hold on, I've got a few more tricks that'll take this to another level...
Insider Tricks for Flawless Results
The Temperature Rule Nobody Follows
Keep the butter below 180°F when melting. A gentle low heat ensures the sugar dissolves evenly without scorching. If the butter gets too hot, it can separate, leading to a greasy, uneven base. A simple thermometer or the “hand test” (touch the butter; it should feel warm but not hot) can save your bars from a sticky fate.
Why Your Nose Knows Best
Before you press the wafer base, give it a quick sniff. A sweet, buttery aroma signals the perfect butter‑sugar ratio. If it smells off or too sweet, adjust by adding a pinch of salt or a splash of milk. Trusting your nose can prevent the bars from becoming cloyingly sweet.
The 5‑Minute Rest That Changes Everything
After pressing the base, let it rest for five minutes before adding the coconut topping. This short pause allows the butter to set slightly, preventing the top layer from sliding off. A friend once rushed this step and ended up with a slanted bar that looked like a sloped hill—let the base rest to avoid that mishap.
The Sweet‑Spicy Surprise
Add a pinch of cayenne pepper to the coconut mixture for a subtle kick that pairs surprisingly well with the sweetness. The pepper’s heat lingers, giving the bars a complex finish. If you’re nervous about the spice, start with a quarter teaspoon and adjust to taste.
The Color Masterstroke
Use a food-safe food coloring that’s specifically designed for desserts. A few drops are enough; too much will turn the bars into a neon shade that feels artificial. If you prefer a natural hue, try a splash of beet juice or a dusting of powdered cocoa for a muted pink.
The Clean‑Cut Technique
Use a sharp, dry knife and wipe the blade between cuts to keep the edges crisp. A dull knife will crush the bars, making them mushy. If you’re slicing into small squares, a serrated knife can also work well—just be gentle to preserve the texture.
Creative Twists and Variations
This recipe is a playground. Here are some of my favorite ways to switch things up:
Coconut‑Chocolate Fusion
Swap vanilla wafers for chocolate wafer crumbs and drizzle melted dark chocolate over the top before chilling. The chocolate adds a rich depth that complements the coconut’s tropical sweetness, making it a crowd‑pleaser at dessert tables.
Berry‑Burst Bars
Fold fresh or frozen berries into the coconut mixture before pressing on top. Blueberries, raspberries, or even a swirl of strawberry puree create a juicy burst that pairs beautifully with the marshmallow fluff.
Almond‑Crunch Upgrade
Add sliced almonds or almond butter to the base for a nutty crunch that contrasts with the soft top. The almond flavor elevates the bars into a sophisticated snack that’s perfect for afternoon tea.
Lemon‑Zest Twist
Stir in a tablespoon of lemon zest into the coconut mixture. The citrus brightens the flavor profile, cutting through the sweetness and giving the bars a fresh, zesty finish.
Espresso‑Infused Delight
Add a teaspoon of espresso powder to the melted butter before mixing with the coconut. The coffee undertone adds depth and is a great pairing with chocolate or a splash of caramel.
Gluten‑Free Option
Use gluten‑free wafer crumbs or a blend of almond flour and oat flour for the base. The texture remains similar, and the bars stay safe for those with dietary restrictions without compromising flavor.
Storing and Bringing It Back to Life
Fridge Storage
Store the bars in an airtight container in the refrigerator for up to one week. The cold preserves the butter’s integrity, keeping the bars firm and the flavor fresh. When you’re ready to serve, let them sit at room temperature for five minutes to soften slightly.
Freezer Friendly
For longer storage, wrap each bar individually in parchment paper and place them in a freezer bag. They stay fresh for up to three months. When you’re ready to enjoy, thaw in the refrigerator overnight or at room temperature for a few hours.
Best Reheating Method
If the bars have become too firm, warm them gently in a microwave for 10–15 seconds—just enough to soften the butter without melting the coconut. Add a tiny splash of water before reheating; it steams back to perfection, restoring that silky, moist interior.