Picture this: a stormy Halloween night, the wind rattling the windows, and the kitchen lights flickering like fireflies in a pumpkin patch. I was in a frantic rush to satisfy a craving that had been gnawing at me all week—those classic stuffed peppers that feel like a hug from the inside. But every time I tried, the filling was either too watery, the peppers fell apart, or the cheese didn't melt into a silky blanket. That night, I decided to take a bold detour into the realm of flavor and texture, and the result was a dish that feels like a secret spell cast in the oven.
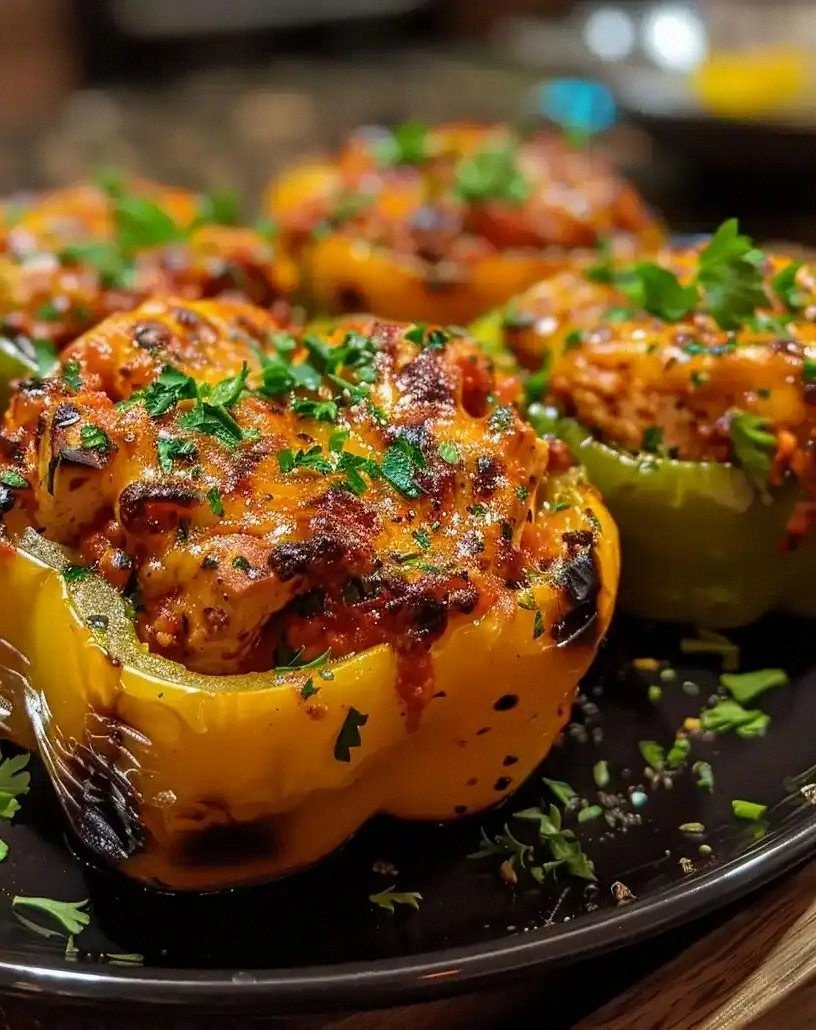
The moment I popped the peppers into the oven, the kitchen was filled with a comforting aroma that made the house feel like a cozy cabin. The bell pepper skins, crisp and slightly charred, crackled like a campfire when I lifted the lid, revealing a golden, bubbling cheese layer that glistened like moonlit dew. The filling, a velvety mixture of ground beef, orzo, tomatoes, and herbs, swirled together in a dance that made my taste buds sing. I dared you to taste this and not go back for seconds, because the flavor is addictive in the most wholesome way.
What sets this version apart is not just the ingredients, but the meticulous layering, the balance of acidity and richness, and the subtle crunch that comes from the pepper skins. I’ve spent hours tweaking the ratio of tomatoes to stock, experimenting with the timing of the cheese, and even testing different pepper colors for the most striking visual impact. The result is a dish that feels both comforting and celebratory, a true centerpiece for any Halloween gathering.
I’m going to walk you through every single step, from prep to plating. By the end, you’ll wonder how you ever made stuffed peppers any other way. Let’s dive in.
What Makes This Version Stand Out
- Flavor: The tomato base is enriched with a splash of chicken stock that adds depth and keeps the filling from drying out, while the Italian seasoning gives it a fragrant, herbaceous kick. The result is a sauce that coats the orzo like velvet and melts into the cheese for a silky finish.
- Texture: The peppers are roasted just enough to develop a slightly charred crust, creating a contrast between the crunchy skin and the tender, cheesy interior. The orzo provides a chewy bite that balances the softness of the meat.
- Simplicity: With only twelve ingredients, this dish is a breeze to assemble, even if you’re juggling a full Halloween party. No exotic spices or hard-to-find items—just pantry staples that you already have.
- Uniqueness: The addition of orzo transforms the classic stuffed pepper into a pasta-stuffed masterpiece, giving it a surprising twist that guests will love. It’s a fusion that feels fresh yet familiar.
- Crowd Reaction: Friends who have tried other versions rave about how the cheese stays gooey without melting away, and how the peppers hold their shape perfectly. The dish is a guaranteed hit at any gathering.
- Ingredient Quality: Using fresh bell peppers and a high-quality ground beef elevates the dish from ordinary to extraordinary. The fresh herbs and real cheese make all the difference.
- Cooking Method: The combination of stovetop simmering and oven baking creates layers of flavor that deepen over time, ensuring every bite is a revelation.
- Make‑Ahead Potential: Prepare the filling and assemble the peppers a day early, refrigerate, and bake just before serving. The flavors meld beautifully, making this dish a stress‑free option for last‑minute planners.
Alright, let's break down exactly what goes into this masterpiece.
Inside the Ingredient List
The Flavor Base
The diced onion and olive oil form the aromatic foundation of the filling. Sautéing the onion until it turns translucent releases its natural sugars, giving the sauce a subtle sweetness that balances the acidity of the tomatoes. If you skip this step, the dish will taste flat and the flavors won’t meld as beautifully.
The Texture Crew
Orzo is the secret weapon that adds a chewy, pasta-like bite to the stuffing. Cooking it al dente before mixing prevents it from becoming mushy during the baking process. If you prefer a gluten-free option, try using quinoa or cauliflower rice for a lighter texture.
The Unexpected Star
The ¾ cup of orzo might seem modest, but it’s the star that holds the filling together. It absorbs the tomato sauce, creating a cohesive mixture that’s neither too dry nor too soupy. Skipping it would leave you with a runny filling that drips out of the peppers.
The Final Flourish
The shredded cheddar or Monterey Jack cheese is the crowning glory that melts into a golden, bubbly layer. Using a blend of cheeses adds depth and a subtle tang that cuts through the richness of the beef. If you’re a dairy-free foodie, try a plant-based cheese that melts similarly.
Everything's prepped? Good. Let's get into the real action.
The Method — Step by Step
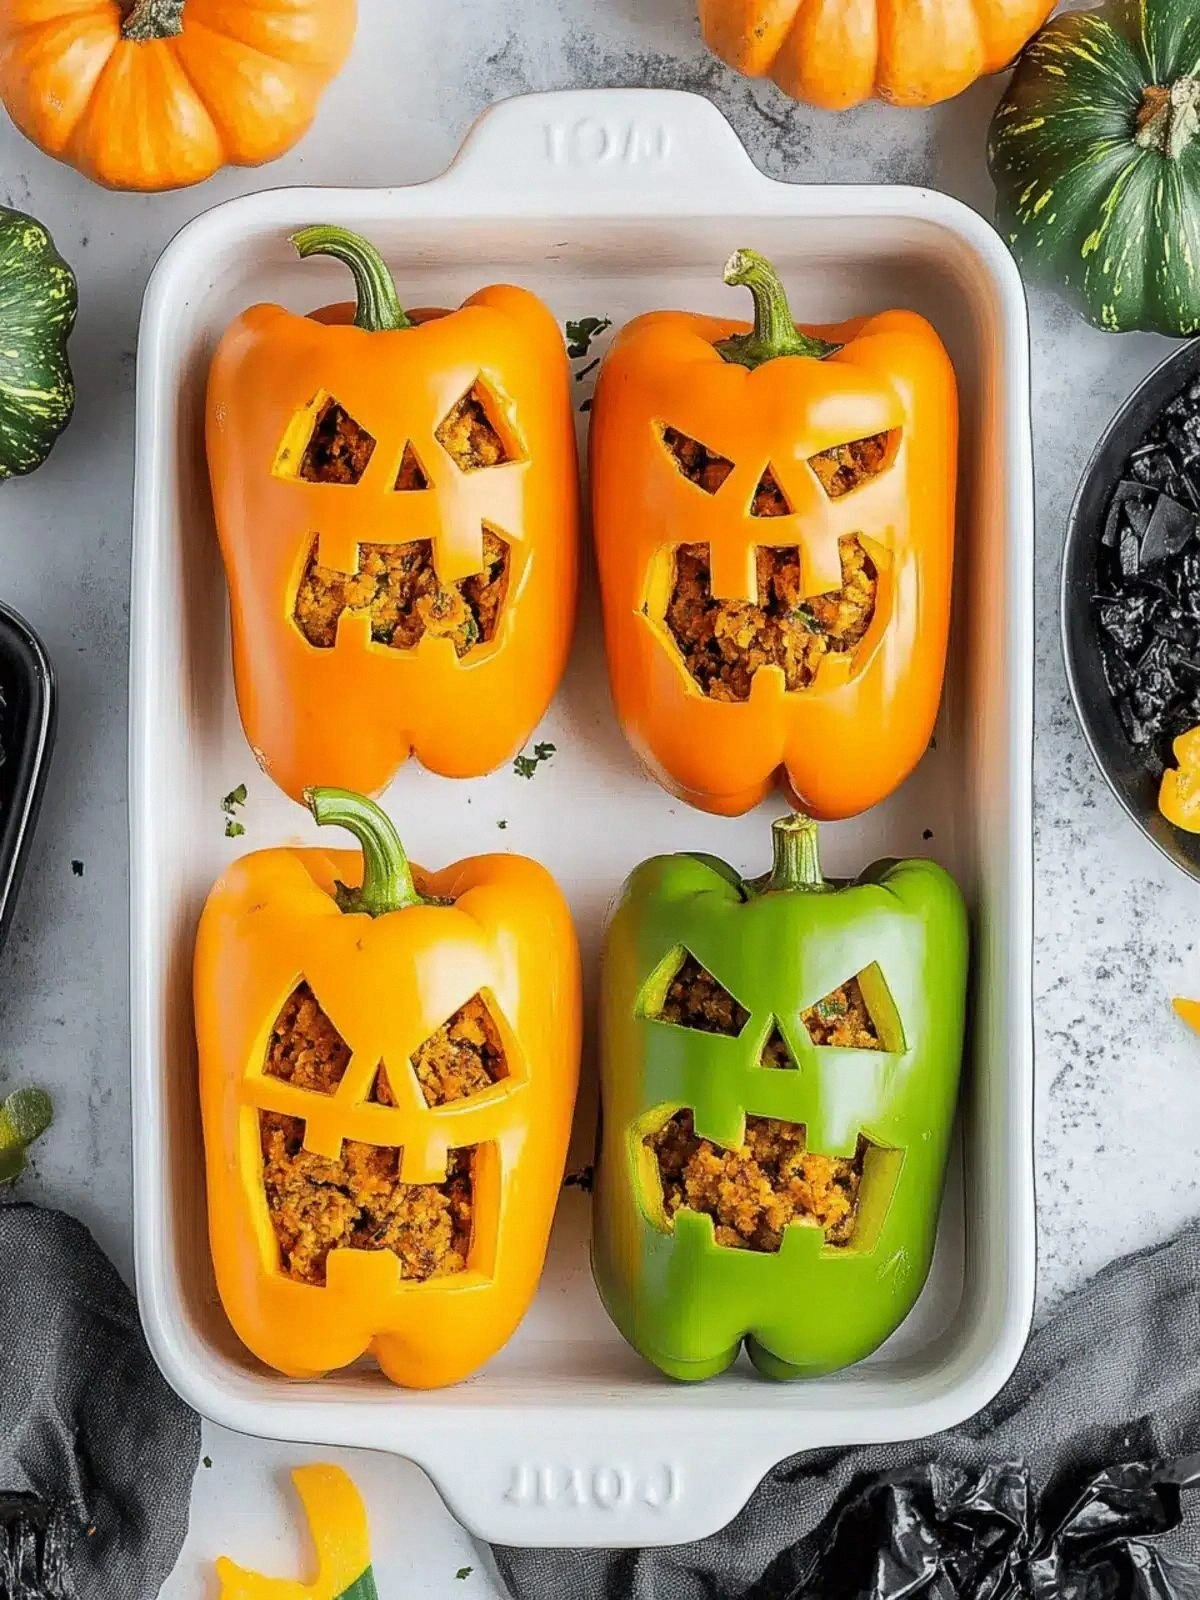
- Step 1: Prep the Peppers. While the peppers roast, slice the tops off and carefully remove the seeds and membranes. Keep the tops for a later garnish or to use as a decorative lid. This step is crucial for ensuring the peppers hold their shape during baking.
- Step 2: Roast the Peppers. Arrange the peppers on a baking sheet, drizzle with a little olive oil, and roast at 400°F for 15 minutes. The skins should develop a gentle char and soften enough to hold the filling. This pre‑bake gives the peppers a smoky depth that elevates the dish.
- Step 3: Sauté the Onion. In a large skillet, heat the tablespoon of olive oil over medium heat. Add the diced onion and cook until it turns golden and fragrant, about 5 minutes. The caramelized onion adds a sweet backbone to the savory filling.
- Step 4: Brown the Beef. Push the onion to the side of the pan and add the ground beef. Break it up with a spatula and cook until browned and no longer pink. This step locks in flavor and ensures the meat is fully cooked before stuffing.
- Step 5: Add the Tomatoes. Stir in the diced tomatoes and tomato sauce, letting the mixture simmer for 10 minutes. The tomatoes break down, creating a rich sauce that coats the orzo and beef. Watch the aroma rise—it's pure comfort.
- Step 6: Incorporate Orzo. Add the pre‑cooked orzo to the skillet and stir until it’s fully coated in the sauce. This allows the pasta to soak up the flavors without becoming mushy. The mixture should look silky and glossy.
- Step 7: Season the Filling. Pour in the chicken stock, sprinkle the Italian seasoning, salt, and pepper. Stir until everything is evenly combined. Taste and adjust the seasoning; the right balance will make the dish sing.
- Step 8: Assemble and Bake. Spoon the filling into each roasted pepper, top with shredded cheese, and place them back on the baking sheet. Return to the oven and bake at 375°F for 20 minutes, or until the cheese is golden and bubbling. The final sizzle is the soundtrack of a job well done.
That's it—you did it. But hold on, I've got a few more tricks that'll take this to another level.
Insider Tricks for Flawless Results
The Temperature Rule Nobody Follows
Many chefs bake stuffed peppers at 425°F, but I recommend 375°F for a gentler cook that keeps the filling from drying out. Lower heat allows the cheese to melt evenly without scorching the pepper skins. I’ve tried both methods; the 375°F version consistently yields a more cohesive, luscious interior.
Why Your Nose Knows Best
Before you even taste the final dish, inhale the aroma coming from the baking pan. A deep, savory scent signals that the sauce has reduced to the right consistency. If the smell is too watery, give it a few more minutes; if it’s too dry, add a splash of stock.
The 5-Minute Rest That Changes Everything
Let the stuffed peppers sit for exactly five minutes after removing them from the oven. This short rest period allows the filling to set, making the peppers easier to slice and preventing cheese from oozing out. It also lets the flavors meld, delivering a more harmonious bite.
The Perfect Cheese Blend
A combination of sharp cheddar and Monterey Jack creates a balance of tang and creaminess. Cheddar adds a bold bite, while Jack melts into a silky texture. If you prefer a sharper finish, increase the cheddar proportion; for a milder taste, swap Jack for mozzarella.
The Secret of the Pepper Color
Using a mix of orange and green peppers not only looks festive but also introduces subtle flavor variations. Orange peppers are sweeter, while green peppers bring a slight bitterness that cuts through the richness. Mixing them creates a more complex taste profile.
Creative Twists and Variations
This recipe is a playground. Here are some of my favorite ways to switch things up:
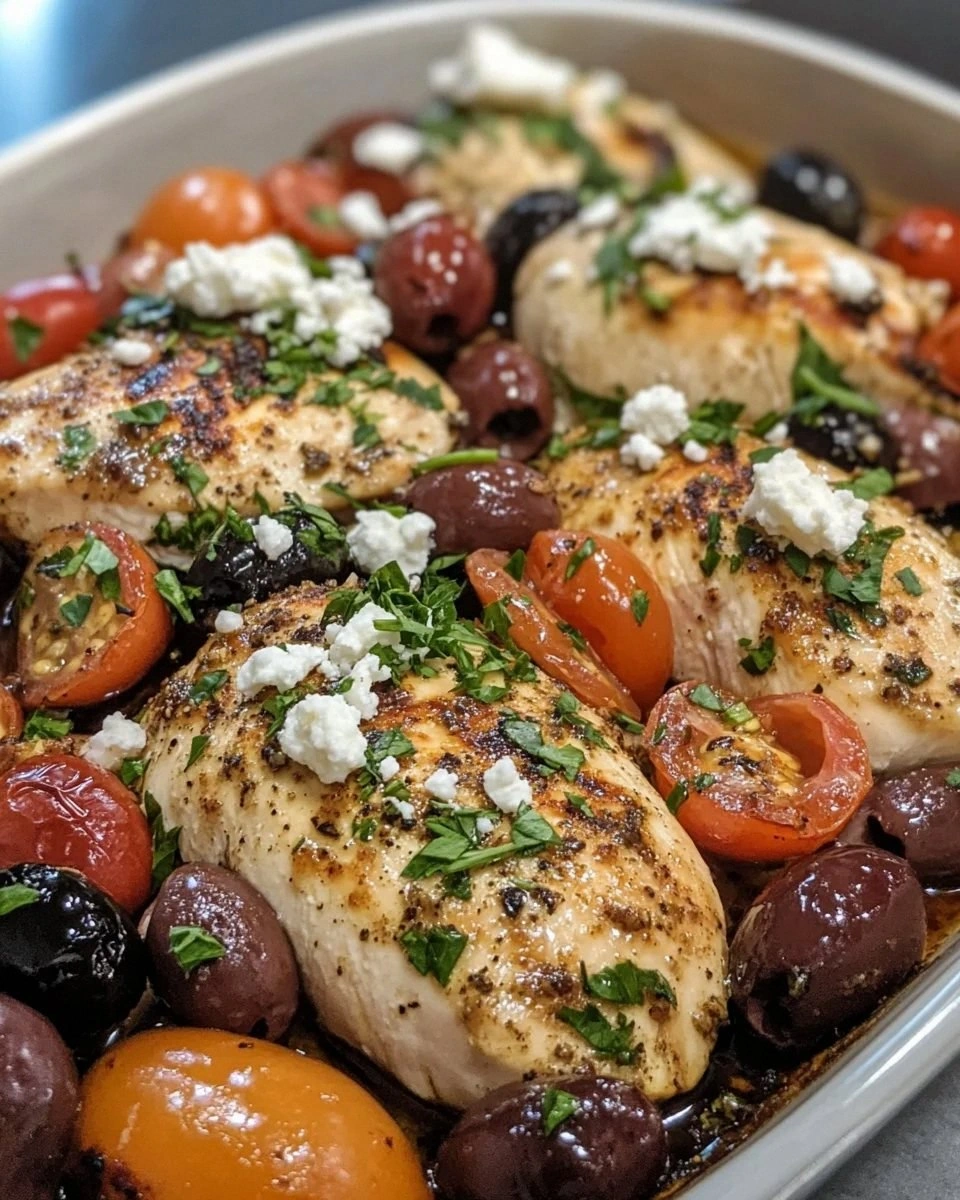
Mediterranean Medley
Swap the ground beef for ground lamb and add chopped kalamata olives and feta cheese. The briny olives and salty feta introduce a Mediterranean flair that pairs beautifully with the peppers.
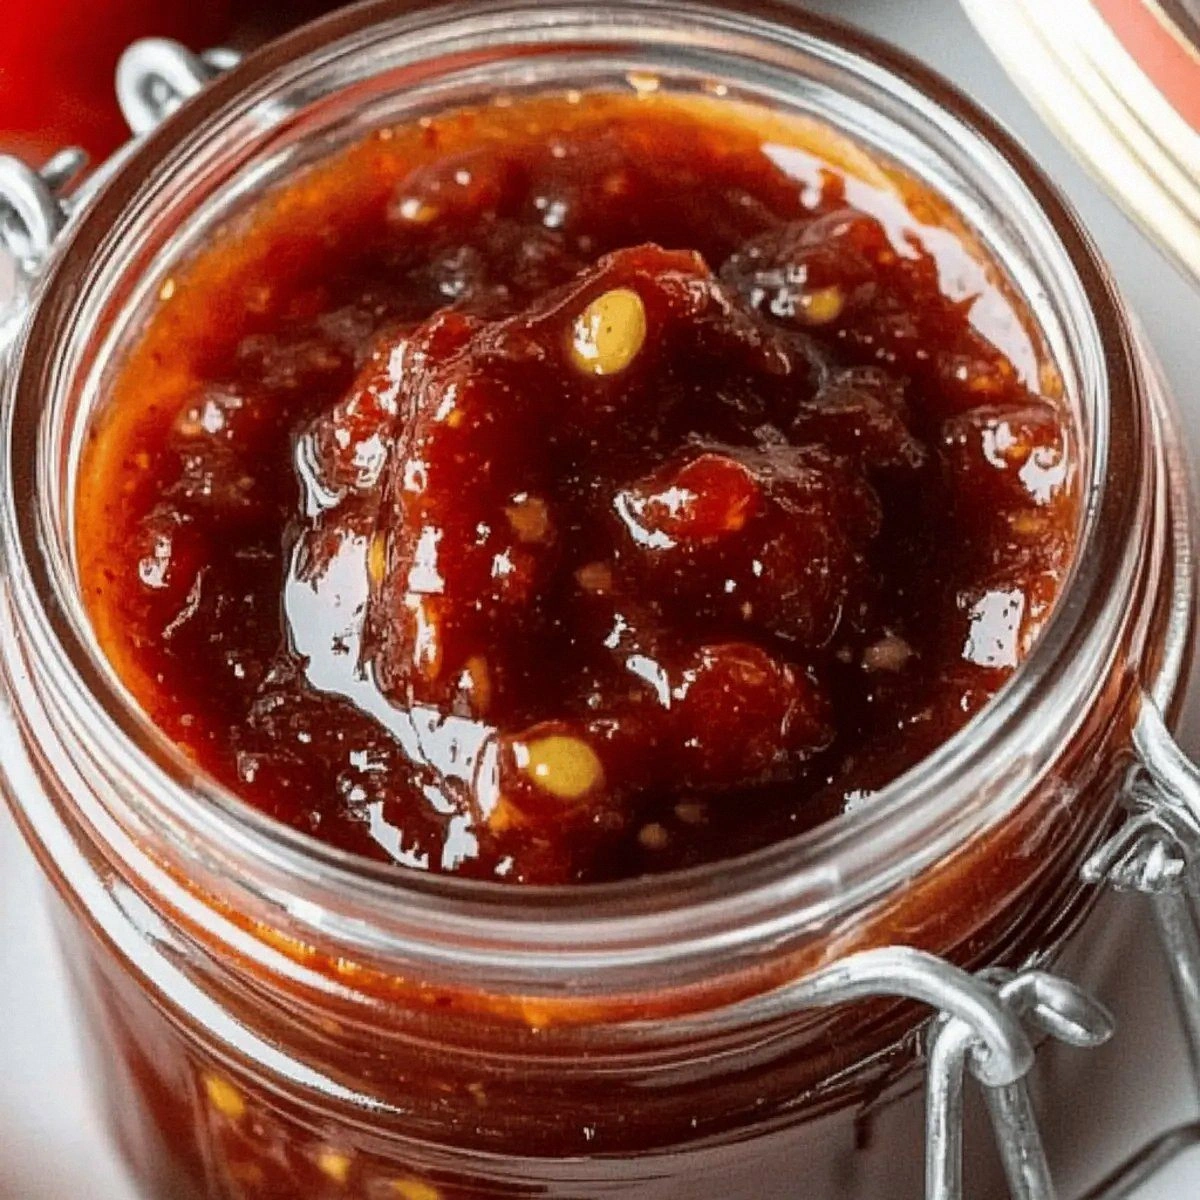
Spicy Sriracha Surprise
Stir in a tablespoon of sriracha sauce into the tomato mixture for a fiery kick. The heat balances the sweetness of the peppers and adds a modern twist to the classic.
Vegan Version
Replace the ground beef with crumbled tempeh or lentils and use a plant-based cheese. The orzo still provides the pasta element, and the dish remains hearty and satisfying.
Cheese Swap
Try gouda or provolone instead of cheddar for a different flavor profile. Gouda adds a caramel sweetness, while provolone offers a smooth, mild melt.
Breakfast Boost
Add a handful of spinach to the filling and serve the peppers with a side of scrambled eggs. This twist transforms the dish into a protein-packed breakfast that’s perfect for a fall brunch.
Herb Garden
Incorporate fresh basil and thyme into the sauce for a fragrant, herbaceous note. The fresh herbs brighten the dish and add a touch of elegance.
Storing and Bringing It Back to Life
Fridge Storage
Cool the stuffed peppers completely, then cover tightly with foil or plastic wrap. Store in the refrigerator for up to 3 days. The peppers will retain their flavor and texture, ready for a quick reheat.
Freezer Friendly
Wrap each pepper individually in foil, then place them in a freezer bag. Freeze for up to 2 months. When ready to serve, thaw overnight and bake at 375°F for 20 minutes.
Best Reheating Method
Reheat in the oven at 350°F for 10–12 minutes, adding a splash of water or stock to keep the filling moist. The cheese will re‑melt into a gooey, inviting layer, and the pepper skins will regain their slight crispness.