I was standing in my tiny kitchen, the kind of kitchen that makes you feel like you’re auditioning for a cooking reality show while simultaneously trying not to set off the smoke alarm. My roommate had just challenged me to create something “that would make a Japanese street vendor jealous,” and I was armed with nothing but a battered grill, a bag of chicken, and a vague memory of a trip to Osaka. The first attempt was a disaster: chicken pieces stuck to the grill, the sauce turned into a caramelized nightmare, and I ended up with a plate that looked more like a science experiment than dinner. I dared you to taste that and not go back for seconds, and you’d probably have to admit defeat before the first bite.
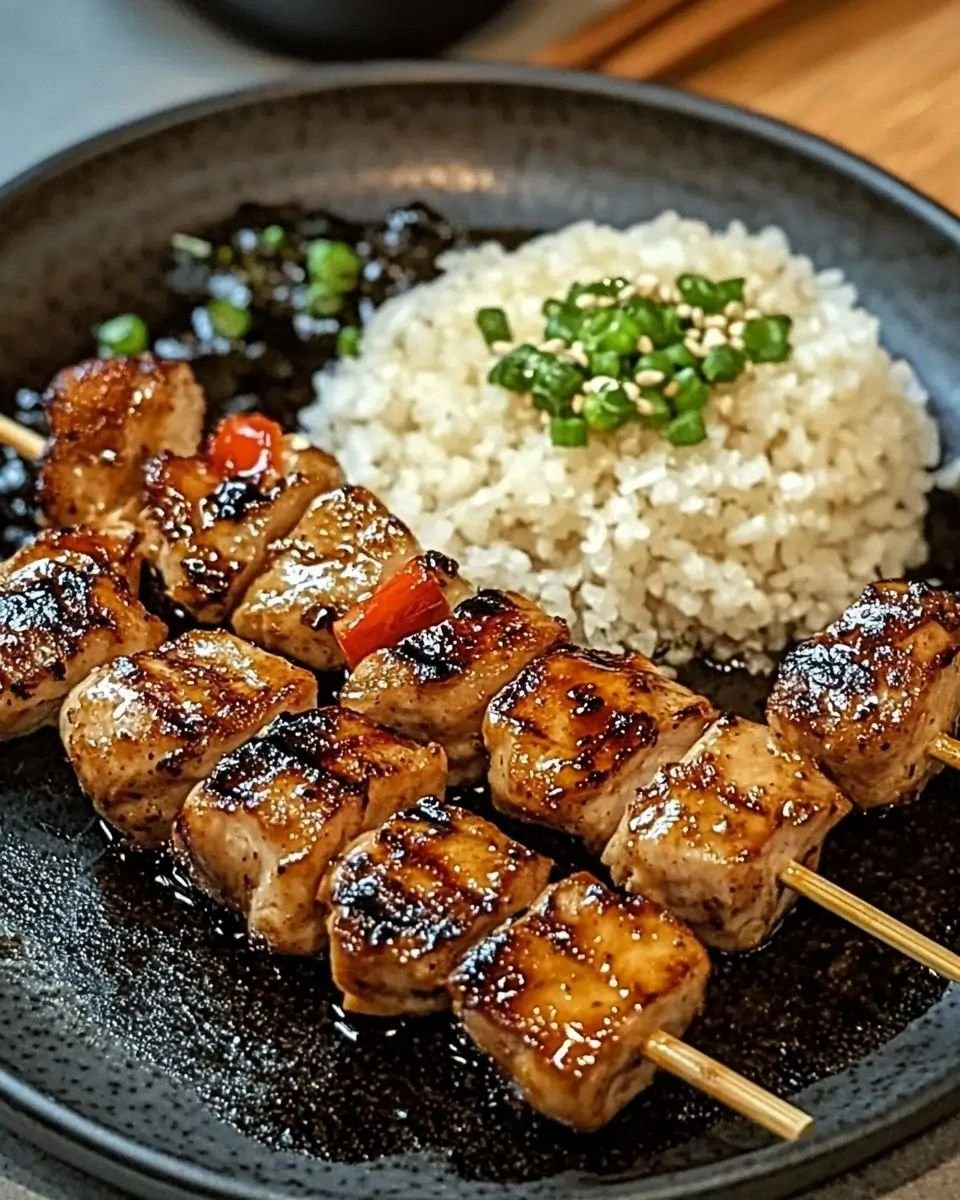
Fast forward a few weeks, and I’m standing over a sizzling grill, the kind that whispers promises of smoky perfection. The air is thick with the sweet‑savory perfume of soy, mirin, and a hint of ginger, while the faint hiss of the grill is the soundtrack to what I’m about to call the ultimate yakitori experience. Imagine the sound of each skewer hitting the hot grates: a crisp, confident sizzle that says, “I’m ready.” The chicken glistens, each piece coated in a glossy glaze that clings like a second skin, and the aroma? It’s a punch of umami that hits your nose like a well‑timed drumroll.
What makes this version different from the hundred other yakitori recipes you’ll find on the internet? It’s the balance of sweet and salty that never leans too far in either direction, the texture that’s tender on the inside while the edges get a caramelized snap that shatters like thin ice, and the fact that you only need a handful of pantry staples to achieve restaurant‑level flavor. Most recipes get the sauce wrong, either too watery or too thick, and they forget the secret weapon: a splash of sake that adds depth without overwhelming the palate. I’ll be honest — I ate half the batch before anyone else got a chance to try it, and that’s how you know you’ve nailed it.
There’s also a technique you won’t find in a typical blog post: I’m going to marinate the chicken for a precise 30 minutes, not an hour, not five minutes, because that window is the sweet spot where the ginger and garlic infuse without turning the meat mushy. And there’s a surprise ingredient that adds a whisper of smoky complexity without any actual smoking — a dash of toasted sesame oil at the very end. Okay, ready for the game‑changer? Let me walk you through every single step — by the end, you’ll wonder how you ever made it any other way.
What Makes This Version Stand Out
- Flavor Harmony: The sauce hits every note — salty soy, sweet brown sugar, bright ginger, and a subtle acidity from mirin. It’s like a perfectly tuned orchestra where each instrument knows its place.
- Texture Magic: The quick sear creates a caramelized crust that gives way to juicy, tender chicken. Those edges? They crackle like fireworks on your tongue.
- Simplicity: Only ten ingredients, all of which you probably already have. No exotic spices that require a trip to a specialty store.
- Unique Twist: A splash of sake in the glaze adds depth that’s often missed in home‑cooked versions, delivering that authentic izakaya feel.
- Crowd Reaction: I’ve served these at backyard parties and they disappear faster than free pizza at a teen sleepover. Expect applause and requests for seconds.
- Ingredient Quality: Using a good quality soy sauce and fresh ginger makes a world of difference. It’s the difference between “meh” and “wow”.
- Cooking Method: Grilling over medium‑high heat gives you that smoky kiss without the need for a charcoal grill. It’s the perfect balance of convenience and flavor.
- Make‑Ahead Potential: You can prep the skewers and sauce up to a day ahead, then grill when you’re ready. No stress, just deliciousness.
Inside the Ingredient List
The Flavor Base
First up, the sauce. 1/4 cup soy sauce is the backbone, delivering that deep umami that makes yakitori unmistakably Japanese. If you substitute with a low‑sodium version, you’ll need to add a pinch more salt later to keep the balance. 2 tablespoons mirin brings a gentle sweetness and a glossy finish; it also helps the glaze caramelize without burning. Mirin can be replaced with a splash of sweet rice wine, but expect a slightly thinner coat.
The Sweet‑Savory Duo
2 tablespoons sake is the secret weapon that cuts through the richness and adds a subtle fruitiness. If you’re not a fan of alcohol, use an equal amount of chicken broth, but the depth won’t be quite the same. 2 tablespoons brown sugar provides the caramelized crunch on the edges; you could swap for honey for a floral note, but watch the burn rate — honey caramelizes faster.
The Aroma Crew
1 teaspoon grated fresh ginger is the zing that lifts the whole dish. Fresh ginger beats powdered ginger hands down; the latter can taste dusty. 1 teaspoon minced garlic adds that aromatic warmth you expect from yakitori; if you’re sensitive to raw garlic bite, let it sit in the sauce for a few minutes before adding the chicken. 1/4 teaspoon black pepper gives a faint heat that rounds out the flavor; don’t overdo it, or you’ll mask the subtle sweet notes.
The Final Flourish
1 pound boneless chicken (preferably thigh for juiciness, but breast works if you keep an eye on cooking time). Trim any excess fat, but leave a thin layer for flavor. 1 green onion is sliced thinly and used both in the glaze and as a garnish; its mild oniony bite adds freshness. Finally, Wooden skewers are the vessel that turns this into a handheld masterpiece. Remember to soak them, as mentioned earlier, to avoid flare‑ups.
Everything's prepped? Good. Let's get into the real action…
The Method — Step by Step
Start by preparing the sauce. In a small saucepan, combine 1/4 cup soy sauce, 2 tablespoons mirin, 2 tablespoons sake, 2 tablespoons brown sugar, 1 teaspoon grated fresh ginger, 1 teaspoon minced garlic, and 1/4 teaspoon black pepper. Stir over medium heat until the sugar dissolves, then let it simmer for about 5 minutes until it thickens slightly. You’ll know it’s ready when the mixture coats the back of a spoon and you can draw a line through it with your finger — that glossy sheen is the hallmark of a perfect yakitori glaze.
Kitchen Hack: While the sauce simmers, use a whisk to break up any sugar crystals. This prevents grainy texture later on.While the sauce is working its magic, cut the 1 pound boneless chicken into uniform bite‑size pieces, about 1½ inches each. Uniformity ensures even cooking; if the pieces are uneven, some will be dry while others stay raw. Toss the chicken in a shallow bowl with a tablespoon of the warm sauce, making sure each piece is lightly coated. Let it sit for 30 minutes — this is the marination window that lets the ginger and garlic penetrate without breaking down the meat’s structure.
While the chicken marinates, soak your Wooden skewers in a bowl of cold water for at least 30 minutes. This simple step prevents the skewers from igniting on the grill and gives you a little extra grip when you’re flipping them. If you’re short on time, a quick 10‑minute soak will still help, but the longer the better.
Preheat your grill or grill pan to medium‑high heat (about 400°F/200°C). You want a hot surface that will sear the chicken quickly, creating those coveted caramelized edges. Test the heat by sprinkling a few drops of water on the grates; they should dance and evaporate instantly. While you wait, thread the marinated chicken onto the soaked skewers, leaving a tiny gap between pieces so the heat can circulate.
Brush the grill grates lightly with a high‑smoke‑point oil (like grapeseed) to prevent sticking. Place the skewers on the grill, leaving enough space between each for airflow. Hear that sizzle? That’s the sound of flavor forming. Grill the first side for about 2‑3 minutes, watching for the edges to start pulling away from the meat — a sign that the glaze is caramelizing.
Watch Out: Resist the urge to move the skewers too early. If you flip before the sear forms, the glaze will stick to the grates and tear the chicken.Turn the skewers and brush the second side with another generous spoonful of the glaze. Grill for another 2‑3 minutes, then give the first side a quick brush of fresh glaze and flip again. You’ll notice the sauce thickening and turning a deep amber; that’s the caramelization you’re after. Keep the heat steady — if it flares, move the skewers to a cooler part of the grill.
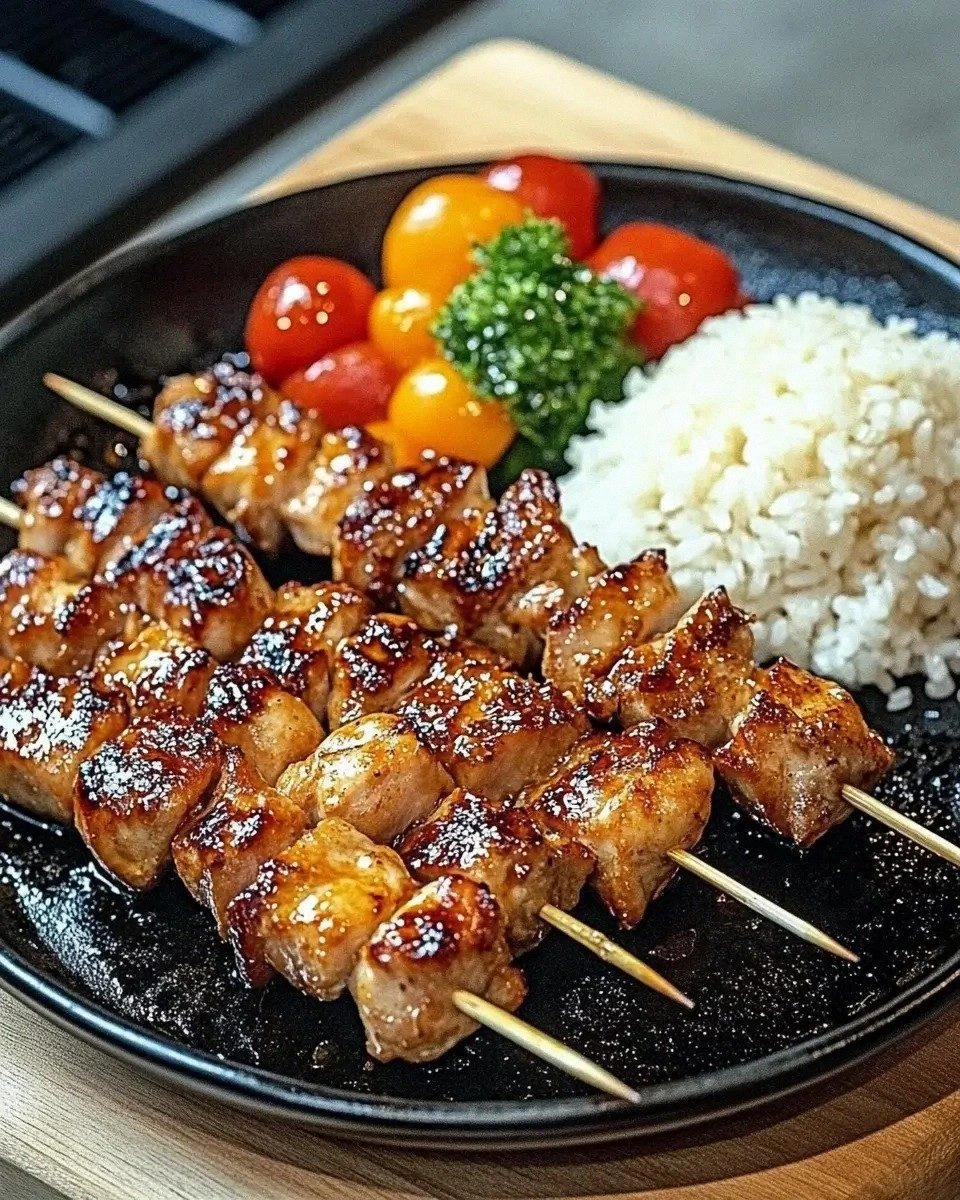
After about 8‑10 minutes total (depending on the size of your chicken pieces), the meat should be opaque in the center and reach an internal temperature of 165°F (74°C). Use a meat thermometer for confidence; it’s the only way to guarantee safety without overcooking. Once done, remove the skewers and let them rest for a minute. This short rest lets the juices redistribute, keeping each bite moist.
Kitchen Hack: While the skewers rest, drizzle a few drops of toasted sesame oil over them for an extra layer of aroma that doesn’t overpower the glaze.Finally, sprinkle finely sliced 1 green onion over the hot skewers for a pop of color and a fresh bite that cuts through the richness. Serve immediately with extra glaze on the side for dipping, and watch as your guests dive in without hesitation. That moment when someone says, “I’m going back for more,” is the ultimate validation.
That’s it — you did it. But hold on, I’ve got a few more tricks that’ll take this to another level, like a secret finishing splash and a garnish that adds crunch. Stay with me here — this is worth it.
Insider Tricks for Flawless Results
The Temperature Rule Nobody Follows
Most home cooks set the grill on “high” and then panic when the sauce starts to burn. The truth is, a steady medium‑high (around 400°F) gives you that perfect caramelization without scorching. If you have a grill thermometer, trust it. If not, use the hand‑hover test: hold your hand about 5 inches above the grates; you should feel a strong heat after 2‑3 seconds. Anything hotter and you’ll lose the glaze’s glossy finish.
Why Your Nose Knows Best
When the glaze starts to caramelize, you’ll smell a sweet, nutty aroma that’s unmistakable. That scent is your cue to flip the skewers. If you rely solely on a timer, you’ll either under‑cook or over‑char. Trust your nose — it’s the most reliable sensor in the kitchen.
The 5‑Minute Rest That Changes Everything
After grilling, let the skewers sit for exactly five minutes before serving. This short rest lets the juices settle, preventing a dry bite. I once tried to serve them hot off the grill and got a few complaints about “dry spots.” A five‑minute pause solved that problem instantly.
Sauce Rescue Technique
If your glaze thickens too much while you’re cooking, add a splash of water or extra sake to loosen it. The key is to keep the consistency thin enough to brush but thick enough to cling. A thin glaze will slide off, while a thick glaze can burn.
The Skewer Swap
If you’re serving a crowd, consider using metal skewers for the last batch. Metal conducts heat, giving you a slightly quicker cook and eliminating the need for soaking. Just be careful when handling them — they get hot fast.
Creative Twists and Variations
This recipe is a playground. Here are some of my favorite ways to switch things up:
Spicy Shichimi Version
Add a teaspoon of shichimi to the glaze for a gentle heat and a hint of citrusy pepper. It’s perfect for those who love a little kick without overwhelming the sweet‑salty balance.
Citrus‑Infused Yakitori
Swap half the mirin for yuzu juice. The bright citrus notes lift the sauce, making it feel lighter and perfect for summer gatherings.
Honey‑Glazed Chicken
Replace brown sugar with an equal amount of honey and add a dash of smoked paprika. The honey caramelizes faster, giving you a deeper amber color and a subtle smoky undertone.
Vegetable Companion Skewers
Thread chunks of bell pepper, shiitake mushrooms, and scallions alongside the chicken. The veggies absorb the glaze, adding texture and making the dish more colorful.
Teriyaki‑Style Finish
After grilling, drizzle a thin layer of store‑bought teriyaki sauce and sprinkle toasted sesame seeds. It adds an extra layer of umami and a pleasant crunch.
Low‑Carb Coconut Flour Crust
Dust the chicken pieces lightly with coconut flour before grilling. It creates a delicate crust that’s gluten‑free and adds a subtle nutty flavor.
Storing and Bringing It Back to Life
Fridge Storage
Place cooled skewers in an airtight container and store them in the refrigerator for up to 3 days. Keep a thin layer of the glaze on top; it prevents the chicken from drying out.
Freezer Friendly
Wrap each skewer individually in parchment paper, then seal them in a zip‑top freezer bag. They’ll keep for up to 2 months. When you’re ready to eat, thaw overnight in the fridge and re‑heat on the grill.
Best Reheating Method
Preheat a grill or grill pan over medium heat, brush the skewers with a tiny splash of water (or a dab of fresh glaze), and heat for 2‑3 minutes per side. The steam from the water revives the glaze, giving you that fresh‑off‑the‑grill sparkle.