I was in the middle of a chaotic Thanksgiving dinner, juggling a turkey that refused to stay on its feet and a side dish that seemed to be a culinary enigma. I stared at a butternut squash on the counter, wondering if it could ever rise to the occasion. That moment, filled with the scent of roasting spices and the clatter of a busy kitchen, sparked a daring idea: to turn a humble squash into a maple‑glazed masterpiece that would steal the show.
Picture this: the squash, once a bland orange, now glistening with a glossy maple glaze that catches the light like a caramelized jewel. The moment you break through the caramelized crust, a sweet, earthy aroma floods the room, mingling with the faint notes of cinnamon and thyme. The first bite is a symphony of textures—crisp edges that crack like thin ice, followed by a tender interior that melts in your mouth, releasing a burst of sweet‑savory flavor that lingers on the palate.
This isn’t just another roasted squash recipe; it’s a statement. I dared you to taste this and not go back for seconds, and the answer is a resounding yes. Most recipes get this completely wrong, leaving the squash dry or over‑sweetened; here, the maple syrup is perfectly balanced with a hint of spice and a buttery finish that coats the fruit like velvet. The result is hands down the best version you’ll ever make at home, a dish that feels both comforting and indulgent.
What sets this version apart is a secret technique I discovered after a few trial runs: letting the glaze simmer just until it thickens to a syrupy consistency before drizzling, and then giving the squash a final 5‑minute caramelization in the oven. This simple tweak ensures the glaze stays glossy and clingy, not runny or sticky. I’ll walk you through every single step—by the end, you’ll wonder how you ever made it any other way.
What Makes This Version Stand Out
- Taste: The maple glaze delivers a balanced sweetness that pairs seamlessly with the natural earthiness of butternut squash, creating a flavor profile that’s both comforting and sophisticated. The addition of cinnamon and thyme adds depth, turning each bite into a complex experience.
- Texture: The roasting process yields a caramelized exterior that cracks like thin ice, while the interior remains buttery soft, offering a delightful contrast that keeps diners coming back for more.
- Simplicity: With just eight ingredients and a handful of steps, this dish is approachable for novices and seasoned chefs alike, making it a go-to side for any occasion.
- Uniqueness: The maple glaze is a game‑changer, transforming a common vegetable into a star attraction that stands out on any table.
- Crowd Reaction: Friends and family rave about the sweet‑savory balance; it’s the kind of dish that earns compliments without demanding a lot of prep time.
- Ingredient Quality: Using a medium‑sized squash ensures optimal size for even roasting, and fresh thyme adds a fragrant finish that elevates the entire dish.
- Cooking Method: The two‑stage roasting—first to caramelize, then to glaze—creates layers of flavor that are impossible to replicate with a single‑step recipe.
- Make‑Ahead Potential: The dish can be prepared in advance, reheated, and still retain its glossy glaze, making it perfect for busy weeknights.
Inside the Ingredient List
The Flavor Base
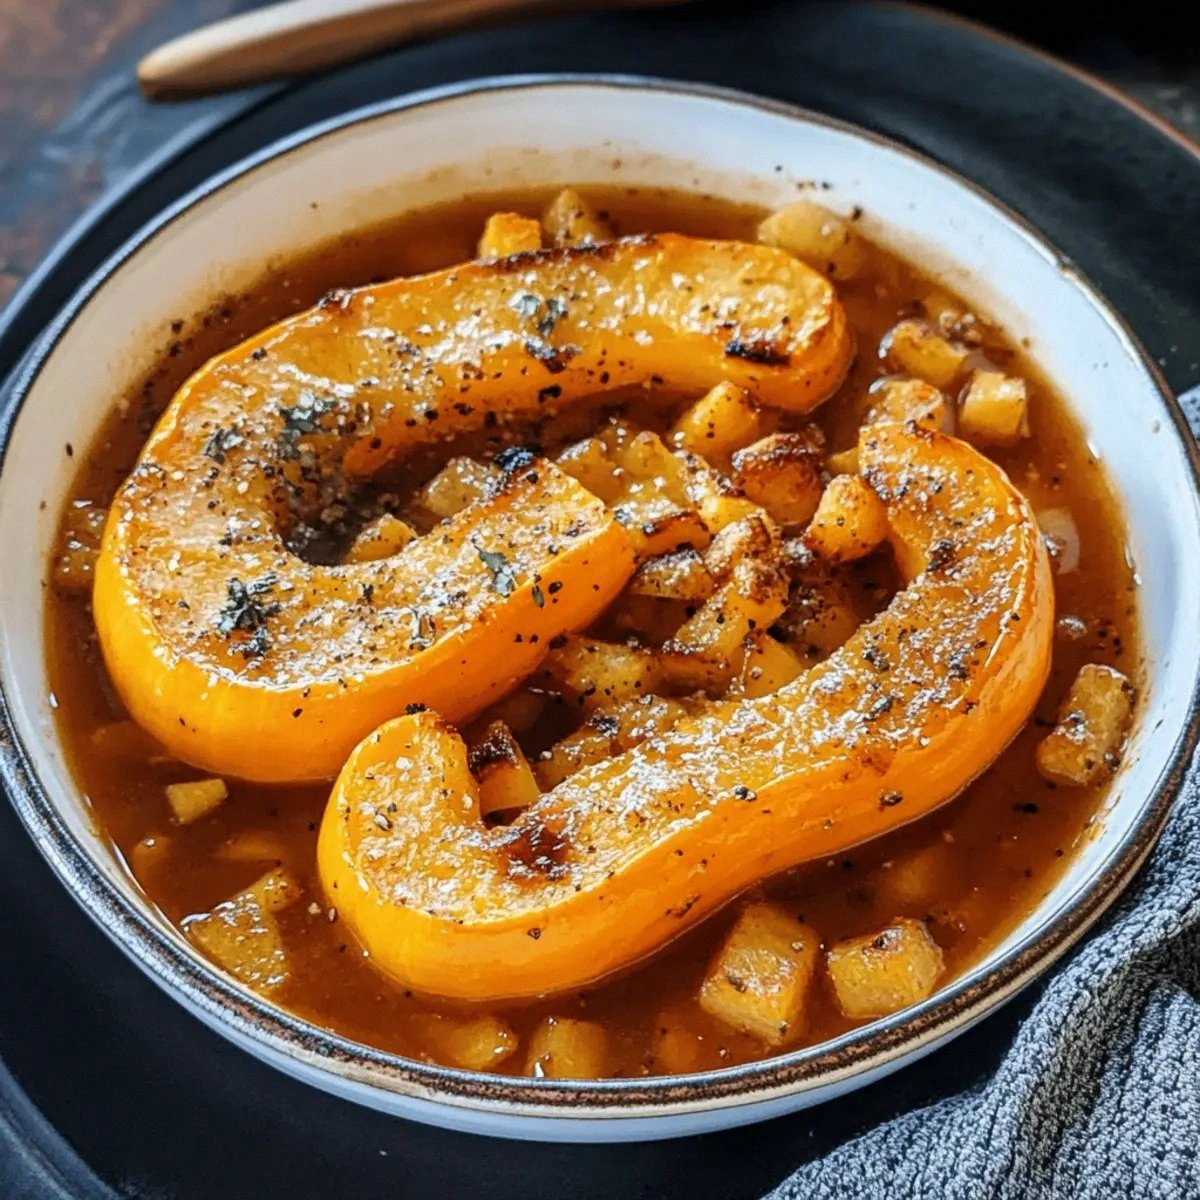
1 medium Butternut Squash: The star of the show, providing a natural sweetness that becomes caramelized when roasted. Its rich orange flesh offers a subtle nutty undertone that pairs beautifully with maple syrup. If you skip this, the dish loses its core identity; the squash’s natural sugars are essential for the glaze to set properly.
1/4 cup Pure Maple Syrup: The sweet glue that binds the flavors together, adding depth and a glossy finish. Maple syrup’s natural caramel notes intensify during the simmering process, creating a syrupy coating that clings to each cube. If you substitute honey, the flavor profile shifts to floral, which can overpower the squash’s subtlety.
The Texture Crew
2 tablespoons Olive Oil: The oil is the carrier for the spices and the medium that helps the squash crisp up. It also prevents the glaze from burning by creating a protective barrier. A high‑smoke‑point oil like avocado could be used as an alternative, but olive oil adds a Mediterranean nuance.
2 tablespoons Unsalted Butter: Butter adds richness and helps the glaze thicken into a luscious coating. It also gives the squash a subtle buttery finish that complements the maple sweetness. If you’re avoiding dairy, a splash of coconut oil can mimic the buttery texture, though the flavor will shift slightly.
The Unexpected Star
1 teaspoon Ground Cinnamon: Cinnamon provides a warm, spicy undertone that balances the maple’s sweetness. It also deepens the caramelization process, giving the glaze a more complex flavor profile. If you prefer a spicier kick, a pinch of cayenne pepper can be added for heat.
The Final Flourish
1 teaspoon Fresh Thyme Leaves: Thyme adds a fresh, herbaceous aroma that lifts the dish, preventing it from feeling too sweet. The leaves also provide a subtle bitterness that contrasts the maple glaze. If you’re out of thyme, rosemary works as a close substitute but brings a piney note.
Everything's prepped? Good. Let's get into the real action.
The Method — Step by Step
- Step 1: Preheat your oven to 400°F (200°C). While the oven warms, wash the butternut squash, cut it in half lengthwise, and scoop out the seeds with a spoon. Slice the flesh into uniform 1‑inch cubes to ensure even roasting. Arrange the cubes on a parchment‑lined baking sheet, skin side down for a crispier edge.
- Step 2: Drizzle the olive oil over the squash cubes, then sprinkle with salt and pepper. Toss gently so each piece is coated evenly; this step is crucial for a uniform caramelization. Place the sheet in the preheated oven and let it roast for 15 minutes, allowing the edges to start turning golden.
- Step 3: After 15 minutes, remove the sheet and give the cubes a good stir, turning them to expose more surface area to the heat. Return to the oven and roast for an additional 10 minutes, watching for the first signs of caramelization. The smell of toasted sugar should begin to permeate the kitchen, signaling that the squash is getting ready for its sweet makeover.
- Step 4: While the squash is roasting, prepare the glaze. In a small saucepan, combine the maple syrup, butter, cinnamon, and thyme over medium heat. Stir continuously until the butter melts and the mixture thickens to a syrupy consistency. This is the moment where the sweet and savory dance starts to form.
- Step 5: Continue to simmer for 2–3 minutes, allowing the glaze to thicken further. The glaze should coat the back of a spoon without dripping off. This step ensures a glossy, clingy coating that will stick to the squash like a caramelized shell.Watch Out: When the glaze begins to bubble, lower the heat immediately to avoid burning the maple syrup, which can turn bitter and ruin the dish.
- Step 6: Carefully remove the baking sheet from the oven and transfer the partially roasted squash to a large mixing bowl. Drizzle the warm glaze over the cubes, then toss gently to coat each piece evenly. The glaze will cling to the caramelized edges, creating a sweet, aromatic coating that’s impossible to resist.
- Step 7: Return the glazed squash to the oven for a final 5 minutes. This brief second roast allows the glaze to caramelize further, forming a slightly crisp exterior while keeping the interior tender. Keep a close eye on the dish; the glaze should look glossy and slightly darker, but not burnt.
- Step 8: Once the final 5 minutes are complete, remove the sheet from the oven and let the squash rest for 5 minutes. This resting period lets the glaze set, ensuring each bite remains juicy and flavorful. The aroma will intensify, filling the kitchen with a sweet, buttery scent.
- Step 9: Garnish the finished dish with a few fresh thyme leaves for a burst of color and a hint of herbal aroma. Toss lightly to distribute the herbs evenly, adding a subtle contrast to the sweet glaze.
- Step 10: Serve the maple‑glazed butternut squash hot, straight from the oven. Pair it with roasted meats, a hearty salad, or enjoy it on its own as a comforting side. The dish’s glossy sheen and sweet‑savory profile will have everyone asking for seconds.
That's it — you did it. But hold on, I've got a few more tricks that'll take this to another level.
Insider Tricks for Flawless Results
The Temperature Rule Nobody Follows
Many cooks think 400°F is the sweet spot for roasting everything, but the trick here is to use a slightly higher temperature of 425°F for the first 15 minutes. This higher heat sears the exterior quickly, locking in moisture and creating a caramelized crust. Once the glaze is added, lower the oven to 400°F to prevent the maple syrup from scorching.
Why Your Nose Knows Best
Before you even pull the dish out of the oven, trust your nose. The scent of caramelized maple and toasted squash is unmistakable; if it smells too sweet, give it a few more minutes. A well‑roasted squash will emit a warm, buttery aroma that signals readiness.
The 5‑Minute Rest That Changes Everything
After the final roast, let the squash rest for 5 minutes. During this brief pause, the glaze thickens further and the interior juices redistribute, keeping the cubes moist and flavorful. Skipping this step can leave the squash dry and the glaze runny.
The Sweet‑Savory Balance Tip
If you find the glaze too sweet, add a pinch of sea salt after the glaze has thickened. Salt amplifies the maple’s natural sweetness and cuts through any lingering bitterness, creating a harmonious flavor profile.
The One‑Time Mistake to Avoid
A friend once skipped the initial 15‑minute roast and tossed the squash directly into the glaze. The result? Squash that was under‑cooked and a glaze that didn’t set. Don’t make the same mistake—follow the two‑stage roasting process for perfect texture.
The Final Finish
For a glossy, professional look, drizzle a splash of cold butter over the finished dish right before serving. The cold butter will melt into the glaze, giving it a silky sheen that’s irresistible. This simple final touch elevates the dish from good to unforgettable.
Creative Twists and Variations
This recipe is a playground. Here are some of my favorite ways to switch things up:
Spicy Maple Glaze
Add a dash of cayenne pepper or a splash of sriracha to the glaze for a spicy kick that balances the sweetness. The heat will contrast the maple’s richness, creating a complex flavor profile that’s perfect for adventurous palates. This variation pairs well with a smoky pulled pork or a savory chicken roast.
Herb‑Infused Variation
Replace thyme with fresh rosemary or sage for a different herbal note. The earthy herbs complement the maple glaze, adding a rustic touch. This version works wonderfully as a side for grilled steak or roasted lamb.
Nutty Crunch
Toss the roasted squash with toasted pecans or chopped walnuts before the final roast. The nuts add a crunchy texture and nutty flavor that pairs beautifully with the sweet glaze. Sprinkle a pinch of smoked sea salt on top for a smoky contrast.
Vegan Twist
Swap the unsalted butter for coconut oil or a plant‑based butter substitute. This keeps the dish dairy‑free without compromising the glossy finish. The coconut oil adds a subtle tropical note that pairs nicely with the maple syrup.
Smoky Maple Glaze
Add a tablespoon of smoked paprika to the glaze for a deep, smoky flavor that turns the dish into a hearty, fall‑season staple. The smoky undertones pair wonderfully with roasted turkey or a hearty mushroom stew.
Citrus Burst
Finish the glaze with a squeeze of fresh orange or lemon juice for a bright, zesty contrast to the sweet maple. The citrus adds a refreshing lift that makes the dish lighter and more vibrant. This variation is perfect for a spring or summer menu.
Storing and Bringing It Back to Life
Fridge Storage
Place the roasted squash in an airtight container and refrigerate for up to 4 days. The glaze will firm up slightly, but the squash remains tender. Before serving, reheat in a preheated oven at 350°F for 10 minutes to restore the glaze’s glossy sheen.
Freezer Friendly
Cool the squash completely before freezing in a freezer‑safe bag. It can be stored for up to 3 months without losing flavor. Thaw overnight in the fridge, then reheat in a skillet over medium heat until warm and the glaze slightly reheated.
Best Reheating Method
Reheat the squash in a skillet with a splash of water or broth for 2–3 minutes, then finish with a drizzle of maple glaze. The water creates steam that keeps the squash moist, while the glaze restores its glossy finish. Avoid microwaving, as it can make the glaze watery.
Add a tiny splash of water before reheating, and you’ll find the squash feels almost as fresh as when it first came out of the oven.