I was halfway through a dinner party, juggling a pot of pasta and a skillet of chicken, when the kitchen turned into a smoky mess. The chicken had been left too long, its skin charred like a burnt marshmallow, and the sauce was a sad, watery mess. I stared at the disaster, then laughed because I knew the secret to rescuing any ruined dish. That moment sparked a daring experiment that turned a potential flop into a culinary triumph. This is the story of how I discovered the best garlic butter chicken thighs.
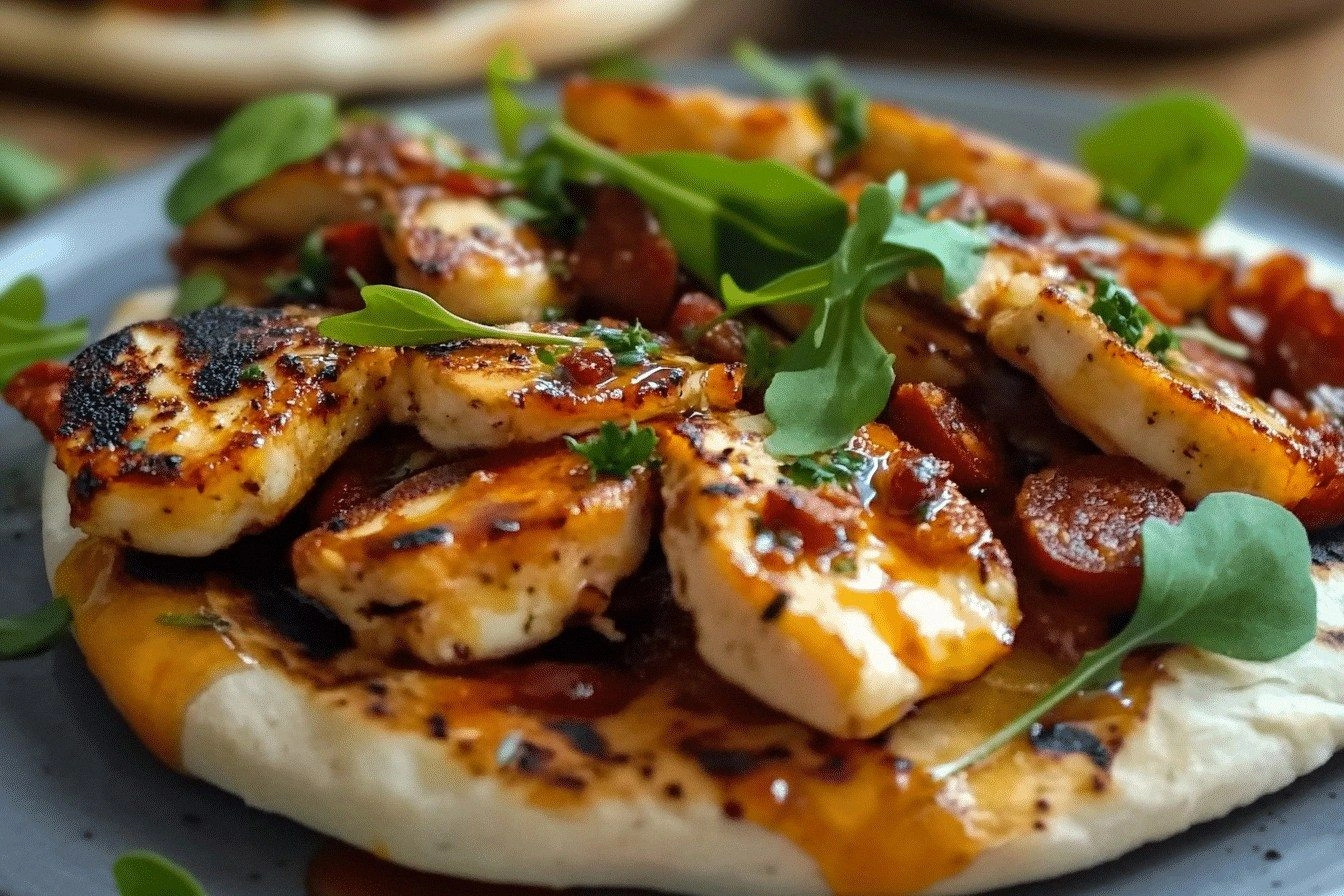
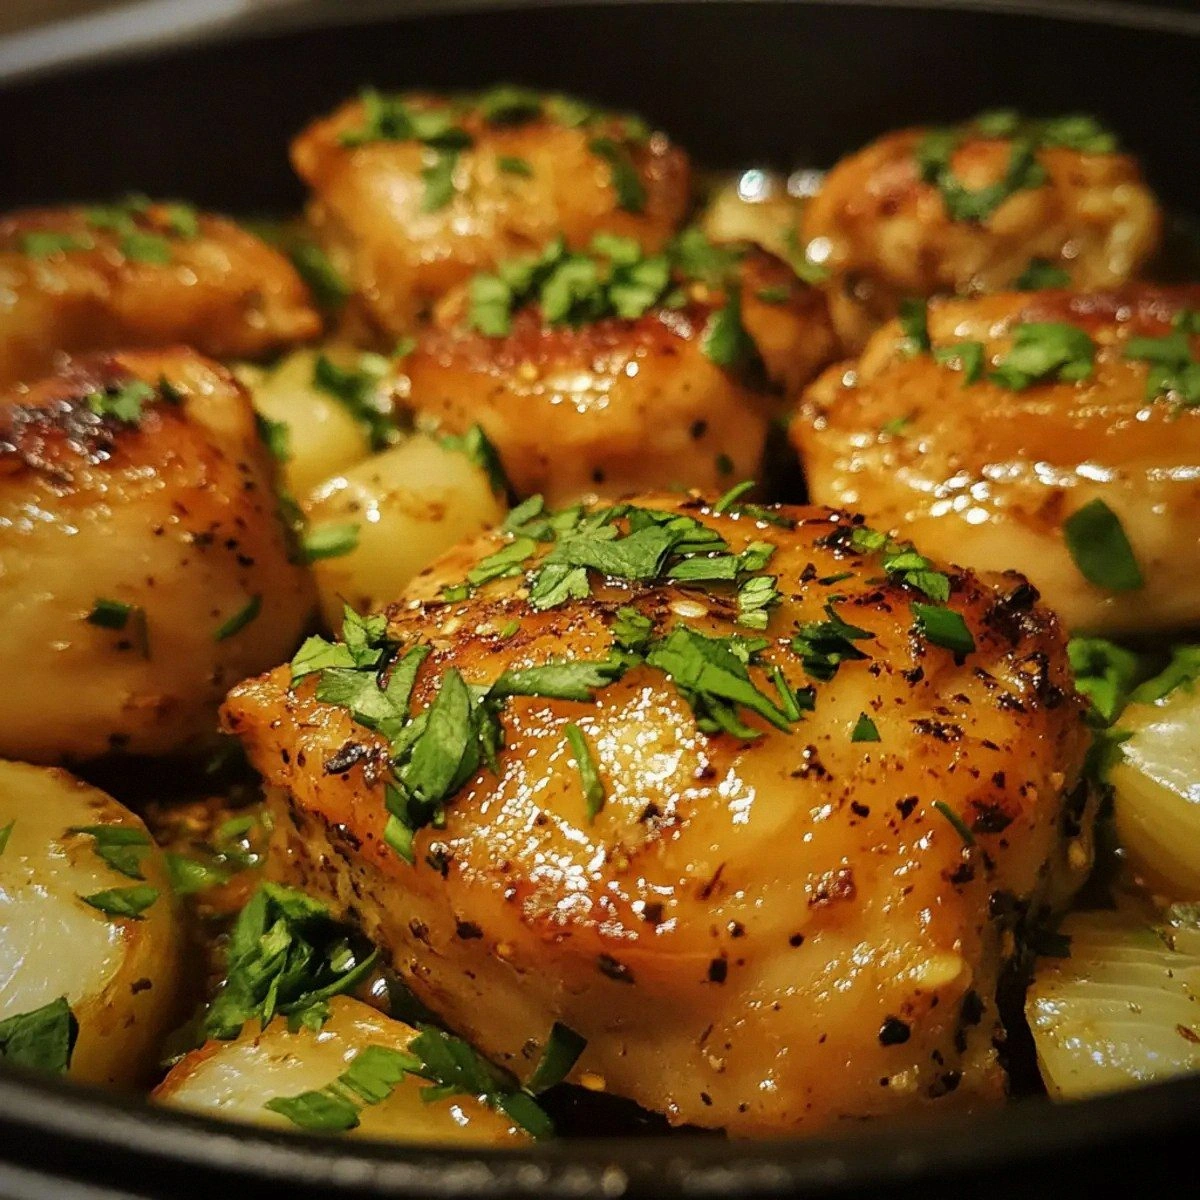
The aroma of fresh garlic, butter, and lemon fills the air like a warm hug. My eyes catch the golden crust forming on the skin, the steam rising in ribbons. The sound of sizzling butter is a comforting crackle that signals the flavor is about to explode. When you bite, the chicken gives a satisfying snap, releasing juicy, tender meat that melts in your mouth. The sauce coats each piece, leaving a silky finish that lingers on the palate.
Unlike other recipes that lean on heavy sauces or dry seasoning, this version balances richness with brightness. The butter melts into a glossy glaze that traps moisture, preventing the thighs from drying out. The lemon juice cuts through the richness, giving a zesty lift that keeps every bite fresh. The subtle heat from red pepper flakes adds a gentle kick without overpowering the flavor. Together, they create a dish that is both comforting and sophisticated.
But the real secret is in the timing and the use of fresh parsley, which adds a burst of green that brightens the dish instantly. I also discovered that searing the chicken skin at a high temperature before finishing it in the butter creates a crackling texture that is simply irresistible. These small tweaks elevate the dish from good to unforgettable. Trust me, you'll want to replicate this once you taste the first bite.
Let me walk you through every single step — by the end, you'll wonder how you ever made it any other way.
What Makes This Version Stand Out
- Flavor: The sauce is a harmonious blend of buttery richness, garlicky depth, and citrus brightness that coats the meat like velvet. The finish is silky, with a hint of pepper that lingers on the tongue.
- Texture: The skin becomes crisp and caramelized, while the meat stays juicy and tender. The contrast between crunchy exterior and melt‑in‑your‑mouth interior is a constant delight.
- Ease: All steps fit into a single pan, so cleanup is a breeze. The recipe requires minimal prep, making it ideal for busy weeknights.
- Ingredient Quality: Fresh, high‑quality ingredients are key. Using real butter instead of margarine and fresh garlic ensures authentic flavor.
- Heat Control: The measured amount of red pepper flakes offers a subtle heat that can be doubled or cut for personal preference. It keeps the dish balanced without overwhelming the palate.
- Visual Appeal: The golden crust, bright green parsley, and glossy sauce create a dish that looks as good as it tastes. It’s a showstopper for dinner parties.
- Make‑ahead Potential: The dish can be cooked ahead and reheated without losing flavor or texture. The butter sauce actually improves after resting.
- Versatility: Serve it over rice, pasta, mashed potatoes, or a simple green salad. The sauce adapts to any accompaniment, making it a crowd‑pleaser.
Alright, let's break down exactly what goes into this masterpiece...
Inside the Ingredient List
The Flavor Base
Butter is the heart of this dish, providing a silky mouthfeel and a rich, caramelized finish. Unsalted butter allows you to control the salt level and ensures the sauce stays bright. Garlic cloves, when minced, release their sulfur compounds, delivering an aromatic punch that permeates every bite. Lemon juice cuts through the heaviness of butter, adding a bright, zesty lift that balances the richness. A splash of chicken broth adds depth and helps bind the sauce into a cohesive glaze.
The Texture Crew
Bone‑in, skin‑on chicken thighs bring a natural juiciness and a protein punch that holds up to the buttery sauce. The skin is the canvas for the golden crust; it crisps beautifully when seared properly. Salt and black pepper are the seasoning duo that elevates every element, ensuring the flavors are layered and harmonious. If you prefer a milder taste, reduce the pepper, but don't skip the salt – it unlocks the meat’s natural sweetness.
The Unexpected Star
Fresh parsley is the green counterpoint that brightens the dish and adds a subtle herbal note. Its bright color also makes the plate visually appealing, giving diners a fresh, almost citrusy finish. If parsley is out of season, a handful of chopped cilantro or a dash of chopped basil can provide a similar lift, though the flavor profile will shift slightly.
The Final Flourish
Red pepper flakes introduce a gentle heat that complements the buttery base without overpowering the palate. A pinch of these flakes adds depth and a subtle complexity that keeps every bite exciting. If you’re a heat enthusiast, double the amount, but keep in mind that the sauce’s overall balance will shift toward spiciness.
Everything's prepped? Good. Let's get into the real action...
The Method — Step by Step
Season the chicken thighs generously on both sides with salt and black pepper, ensuring the seasoning penetrates the meat. Pat the thighs dry with paper towels; a dry surface is essential for a crisp skin. Let them sit at room temperature for about 10 minutes to reduce the temperature difference between the meat and the pan, which helps in even cooking. This small step is often overlooked but makes a noticeable difference in the final texture.
Heat a large cast‑iron skillet over medium‑high heat until it shimmers. Add a splash of olive oil to coat the bottom, then slide the thighs skin‑side down. The sizzle should be loud and immediate; that sound is the promise of a crisp, caramelized crust. Cook for 5–6 minutes without moving them, allowing the skin to develop a deep golden hue.
Flip the thighs and sear the other side for an additional 4 minutes. This will give the meat a uniform browning and lock in juices. While the second side cooks, add a tablespoon of butter to the skillet; it will melt and coat the pan, creating a rich base for the sauce.
Reduce the heat to medium and add minced garlic to the pan. Stir constantly to prevent burning; garlic can turn bitter if left unattended. Once the garlic is fragrant, pour in the lemon juice, red pepper flakes, and a splash of chicken broth. The liquid should bubble gently, creating a glossy sauce that coats the thighs.
Cover the skillet with a lid and let the chicken cook for 12–15 minutes, turning once. The internal temperature should reach 165°F (74°C). The sauce will thicken slightly, and the thighs will become tender and juicy. Keep an eye on the liquid; if it reduces too quickly, add a splash more broth.
Remove the thighs from the skillet and let them rest for 5 minutes. Resting allows the juices to redistribute, ensuring every bite is succulent. While resting, sprinkle chopped parsley over the thighs for a burst of color and freshness.
Serve immediately, spooning the buttery sauce over each thigh. Pair with your favorite side, whether it’s creamy mashed potatoes, sautéed greens, or a crisp salad. The sauce will cling to the sides of the plate, making each bite a harmonious blend of flavors.
That's it — you did it. But hold on, I've got a few more tricks that'll take this to another level...
Insider Tricks for Flawless Results
The Temperature Rule Nobody Follows
Cooking at the right temperature is crucial. Too high, and the skin burns before the meat cooks; too low, and the meat becomes dry. I always start with medium‑high to sear, then reduce to medium for the simmer. This two‑step approach guarantees a perfect crust and juicy interior.
Why Your Nose Knows Best
Smell is a powerful indicator of doneness. When the butter begins to brown and the garlic releases its aroma, you know the flavor is developing. If you’re unsure, give the thighs a gentle squeeze; they should feel firm but not rubbery.
The 5‑Minute Rest That Changes Everything
Resting the chicken for exactly five minutes before slicing allows the juices to settle. A friend tried cutting into the thighs immediately and the meat was dry. This simple pause transforms the texture, making each bite melt in your mouth.
The Secret to Crispy Skin
Dry the skin thoroughly before seasoning. Moisture is the enemy of crispness; it steams instead of searing. A quick pat with paper towels ensures a crackling finish that satisfies the crunch lover in everyone.
The Sauce Consistency Trick
If the sauce is too thin, let it reduce on low heat for a few minutes. Conversely, if it’s too thick, add a splash of broth or water to thin it. The goal is a glossy, clingy glaze that coats the thighs without being runny.
The Timing Tweak
Adding the garlic at the right moment is key. Too early, it burns; too late, it doesn’t meld with the butter. I add it after the second sear, just before the lemon juice, to capture the best of both worlds.
Creative Twists and Variations
This recipe is a playground. Here are some of my favorite ways to switch things up:
Smoky BBQ
Replace the lemon juice with a splash of smoky BBQ sauce and add a pinch of smoked paprika. The result is a sweet‑spicy glaze that pairs beautifully with grilled corn. Your guests will think they’re at a backyard cookout.
Coconut Curry
Swap the chicken broth for coconut milk and stir in a teaspoon of curry powder. The sauce becomes creamy, fragrant, and tropical. Serve over jasmine rice for a complete meal.
Spicy Chipotle
Incorporate a tablespoon of chipotle in adobo sauce for a smoky heat. The chipotle adds depth and pairs well with a simple avocado salad. It’s a bold twist that satisfies heat lovers.
Herb‑Infused
Replace parsley with a mix of thyme, oregano, and rosemary. The herbaceous aroma elevates the dish, making it feel like a rustic farmhouse meal. It’s a great way to use fresh herbs from your garden.
Lemon‑Rosemary
Add a sprig of rosemary to the pan while the chicken simmers. The rosemary infuses the butter with a piney fragrance that complements the lemon. This combination feels like a Mediterranean escape.
Sweet & Sour
Finish the sauce with a splash of honey and a splash of apple cider vinegar. The sweet and tangy balance the richness and creates a vibrant glaze. It’s a delightful surprise that works well with roasted veggies.
Storing and Bringing It Back to Life
Fridge Storage
Store leftovers in an airtight container for up to three days. The butter sauce will keep the chicken moist, and the flavors will deepen slightly. Keep the sauce separate if you prefer to reheat it gently.
Freezer Friendly
Wrap each thigh individually in foil and place them in a freezer bag. They stay good for up to two months. Reheat in the oven at 350°F (175°C) for 15 minutes, or until warmed through.
Best Reheating Method
Reheat the chicken in a skillet over medium heat, adding a splash of water or broth to create steam. This helps restore the moisture lost during freezing. Finish with a drizzle of the reserved sauce for maximum flavor.